They say a pun is the lowest form of humor, so what better time to inflict one on a friend but when they’re ill. And if your ill friend is in a situation where getting well is a relative thing, excuse yourself as I did and explain that Get Whaler Soon brought to mind a caricature of Ahab with a harpoon… not nearly as fun or effective as this project is. Trust me!
OK, let’s get started! If at any time the pictures don’t help you with the step, skip ahead for later shots for more references (especially steps 23 & 24). Also know that clicking on any picture will enlarge it. To get back to the tutorial, just click the “Back” arrow of your browser.
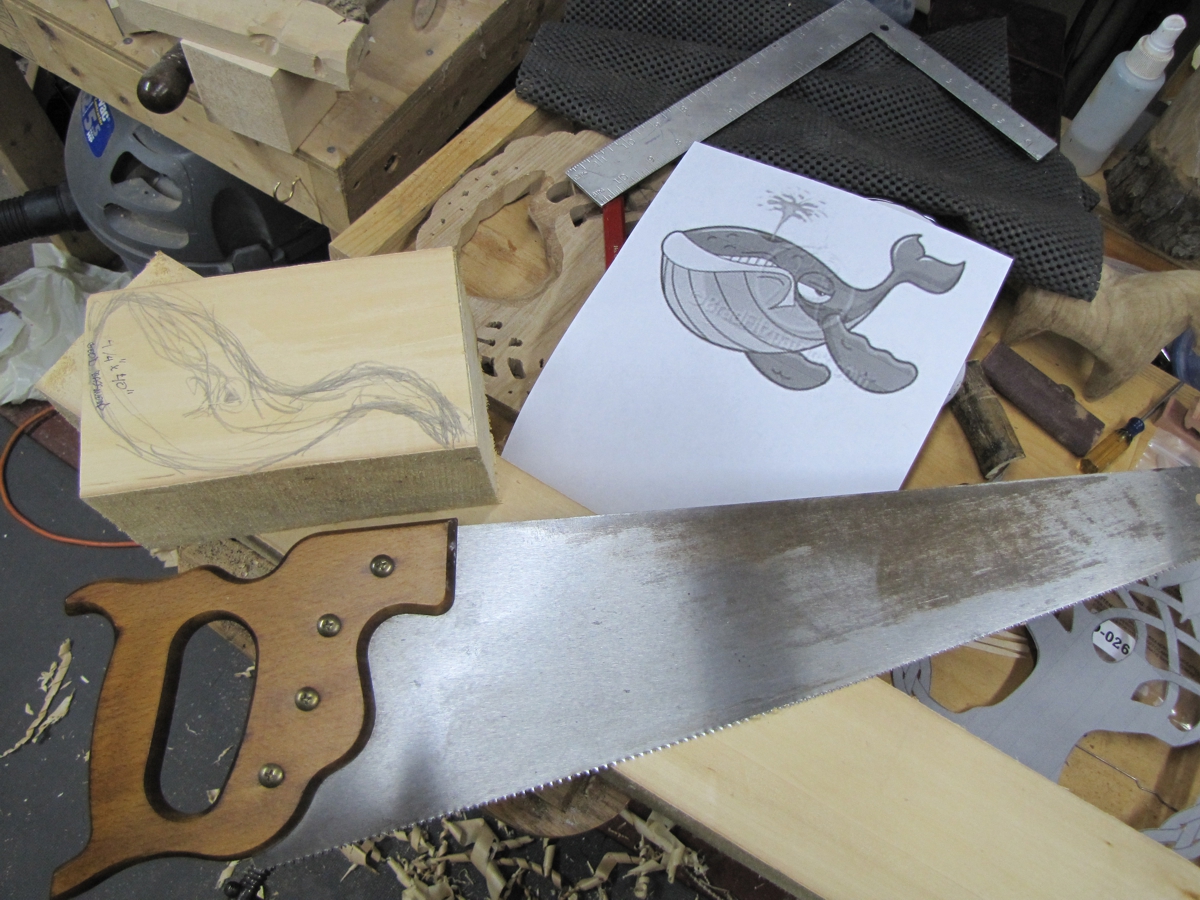
Step 1: Well… my step one. Could have sworn I’d seen a “Get Whale Soon” carving project somewhere. Could not find it. Normally at this point I would try and draw my own pattern, but this project/muse had a time crunch on it. So then you type “cartoon”, “caricature”, and “whale” into Google and search pictures. Normally I take 2–3 of my favorites and combine them. This time, this one just seemed perfect. Sketched a quick profile. Notice how the grain goes parallel to the length at the narrowest section of the tail… very important.
Step 2: Band sawing off what I can. You can’t tell from the picture, but that’s a Rockwell 14″ with a 6″ riser block kit. It’s a veteran that came over from the hobby shop of a closed US AFB in Germany. The beast has a transmission that allows it to cut metal as well as wood.

Step 3: Some more band saw cuts. A little hard to describe, but the second set of band saw cuts from the nose to the widest part are down from the tail and the rest were down from the front. Check the saw marks in the picture.

Step 4: The fins are going to be carved separate. Try to layout the pattern so that the grain is parallel to the length of the root where it will be inserted into the body of the whale.

Step 5: And the waterspout is going to be carved separate as well.

Step 6: With most of the parts cut out, start by knockin’ the corners off. Notice the centerline I draw to stay symmetrical.
Step 7: You don’t want to carve the fins flat. Cut them double thick and carve away the black areas. Remember to make one side the mirror of the other. Also, there’s a “don’t” in this picture… the end that should insert into the whale’s body should end parallel to the grain. This means I should have cut this from a thicker piece of wood and finished that end of the curved fin flat against the side of the wood.

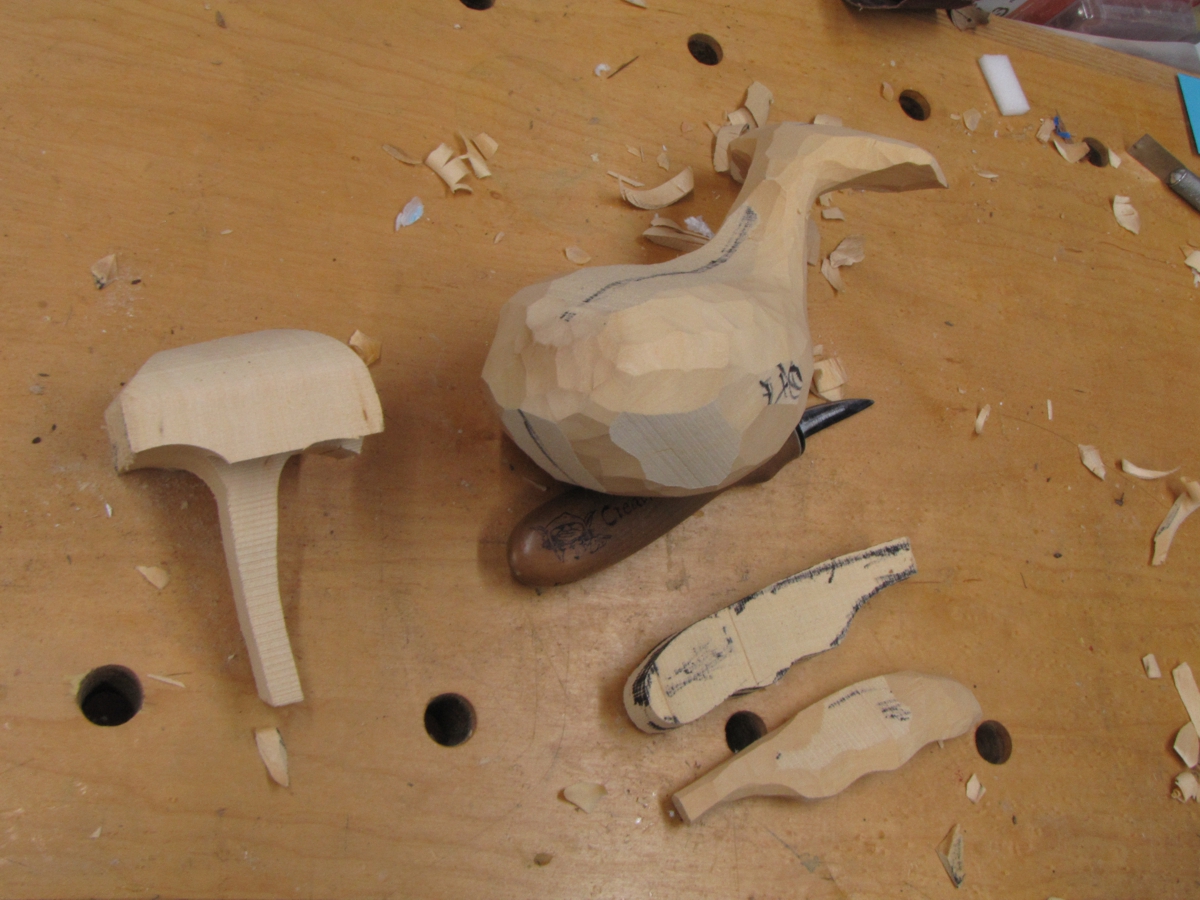
Step 8: The shape of things so far… the waterspout is basically a mushroom with a tapered stem… the fins taper down to a dowel rod shape at it’s base for mounting in the body (later)… the body is nicely rounded with a softly flattened tail.

Step 9: Some close ups. Notice that the typical cross section of the main body is not circular. It’s kind of squashed with the widest point being high of the center.


Step 10: The ridge from the tail bone.
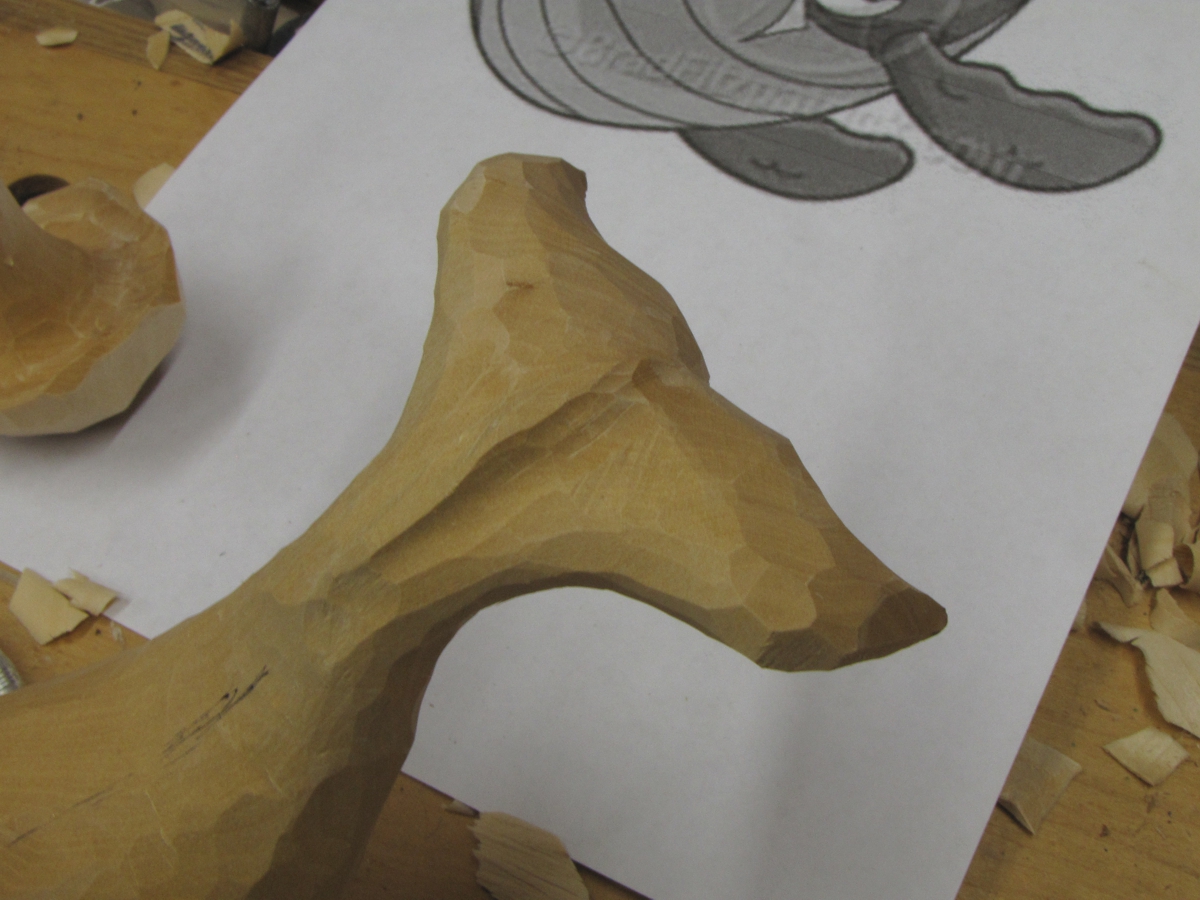
Step 11: This shape is done with a gouge cut down both sides of the center line, and then a knife or shallower gouge is used to blend the outer sides of each of those cuts into the tail (erase them).

Step 12: Time to draw the facial features. A permanent pen would have been better… no smudging of the graphite over the carving, either erases with a knife not an eraser.

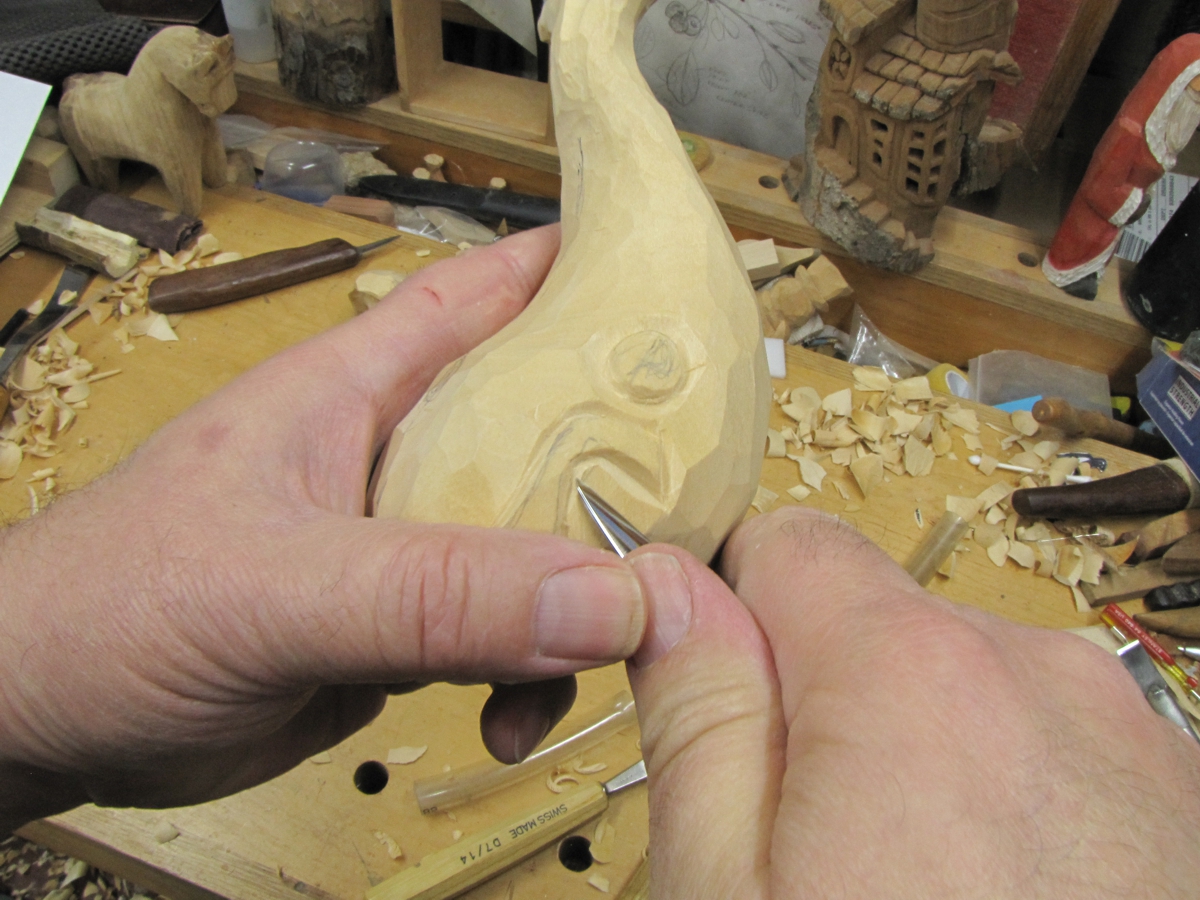
Step 13: Outline the eye and lips(?) with a stop cut using a v‑tool (leaned slightly towards the waste side of the cut).
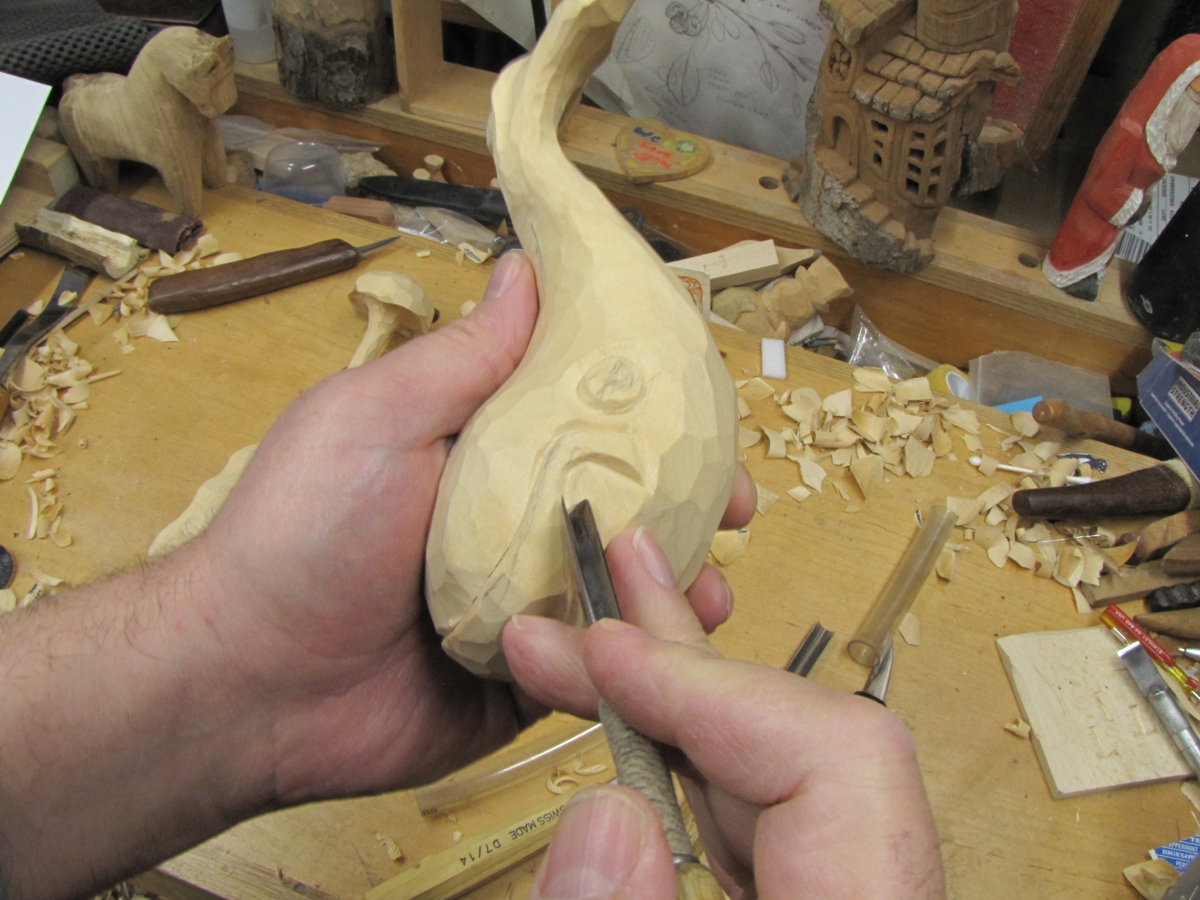
Step 14: Carve away wood from the waste side of the cut until you no longer see that side of what the v‑tool did.
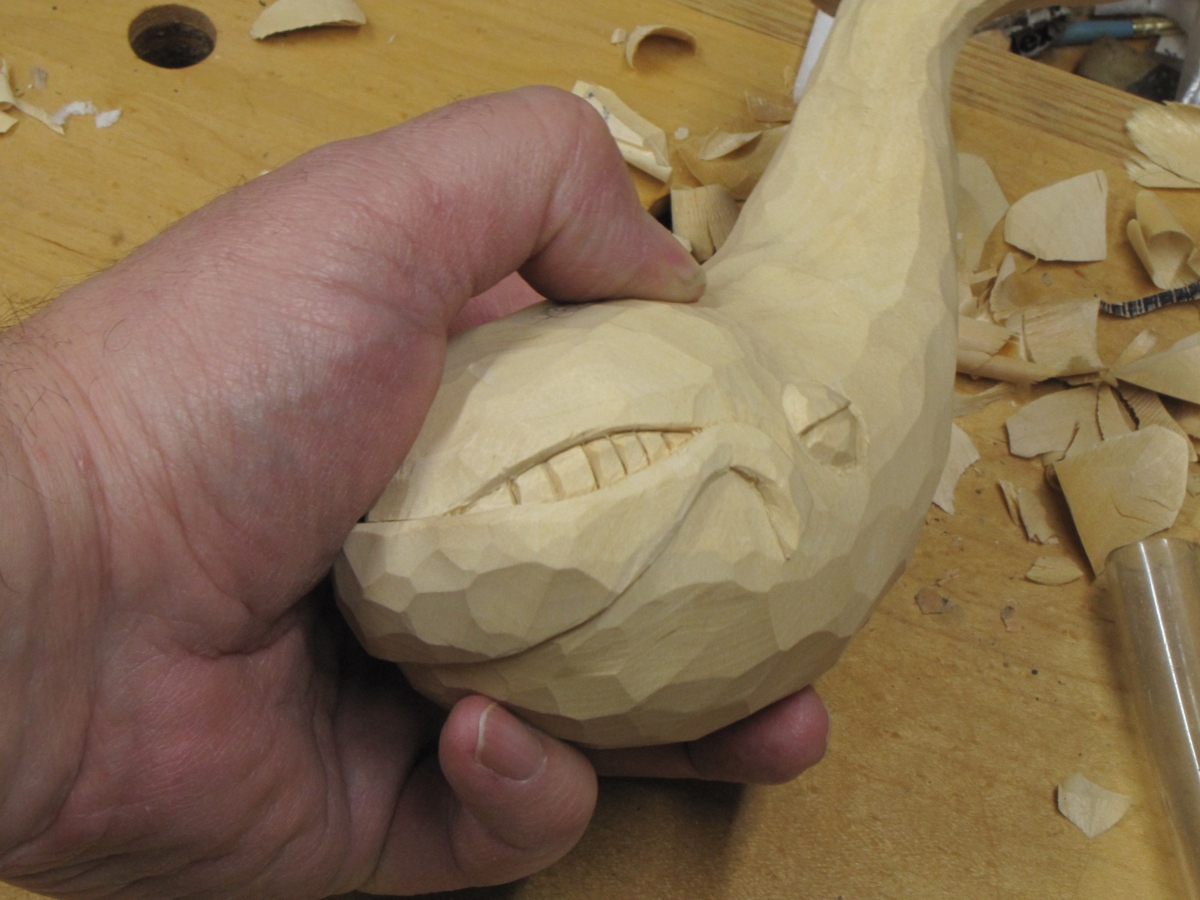
Step 15: OK, this is what it looks like after a few more steps. To get here I rounded the eye area then stop cut the lid and the lower half of the eye circle. I then removed some wood from the inside of these stop cuts. I also stop cut the upper lip and the lower lip where it forms that open area of the mouth where the teeth(?) go. Then I removed wood from inside this area. Remember this pattern is repeated as mirror images on both sides of the center line.

Step 16: Draw in the teeth (yes, I know they’re not really teeth on the whale, but this is caricature).

Step 17: Then chip cut out the vertical lines and voila!
Step 18: Drew in the rows of the underside. Notice that the depression on the right isn’t as sharp as the one I’m cutting. I soften/widen it on purpose by making two more passes on the first cut. One with the v‑tool leaned over to the left and another pass leaned to the right.

Step 19: The water spout so far is a mushroom with a tapered stem. The final shape is like a flower with long, round tipped petals rolled severely over as they radiate. Stagger and overlap them like shingles. I decided after outlining them with a v‑tool that they needed a cone shaped dip to spray out from and that’s what you see me carving now.

Step 20: Stop cut the petals with a v‑tool or a knife. Start with the whole shape of the topmost ones and cut waste wood out from the water “petals” below.

Step 21: You might need to undercut more from behind the bottom edge to “sell it”. This is probably the trickiest piece to carve… go slow!

Step 22: Drill the holes for fins… approximately 45 degrees back and slightly down. Test fit them and when you like them epoxy them in..
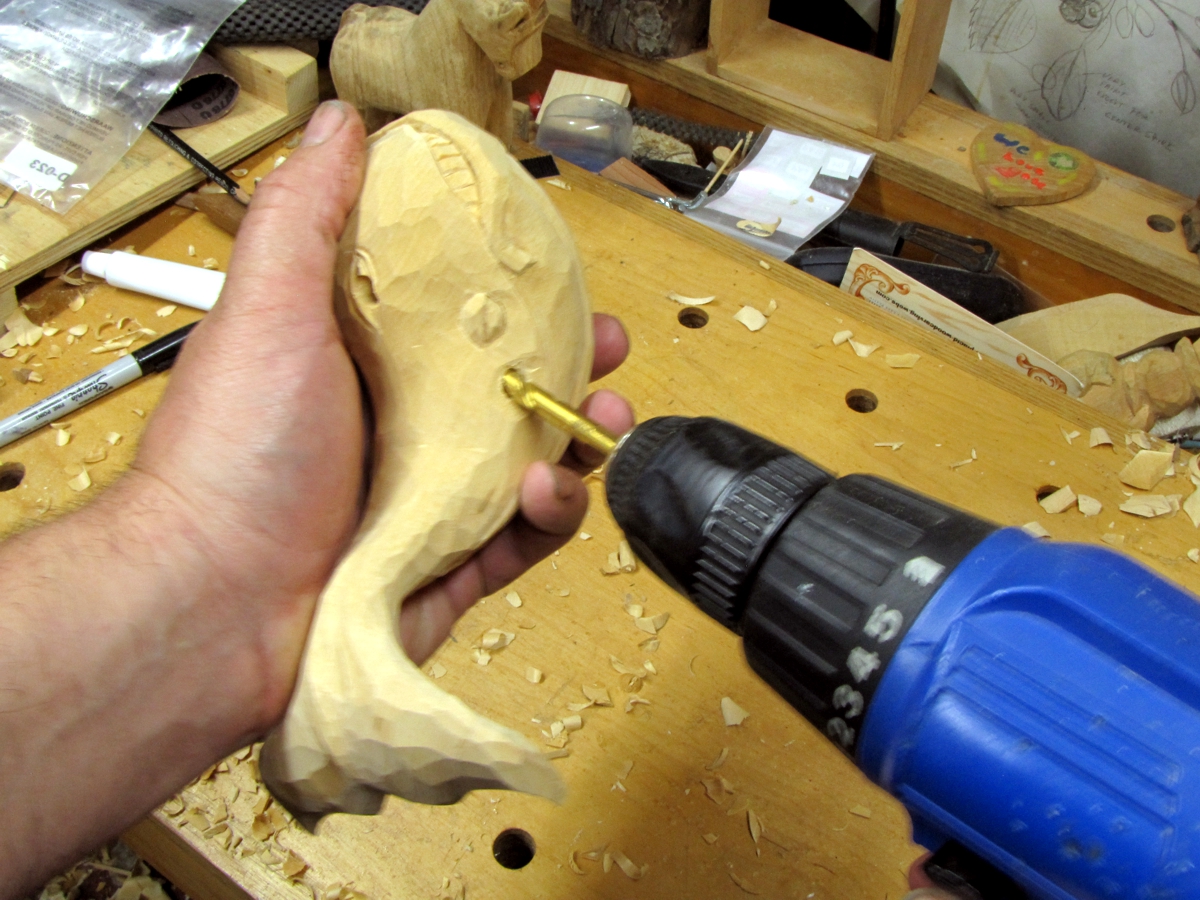
Step 23: I would drill the hole in the base first (1/4″ hole for a 1/4″ dowel rod) and then drill the hole in the whale. When that all looks good, then drill the hole for the water spout. Notice he looks a bit grumpy here… painting the pupils in will fix that.

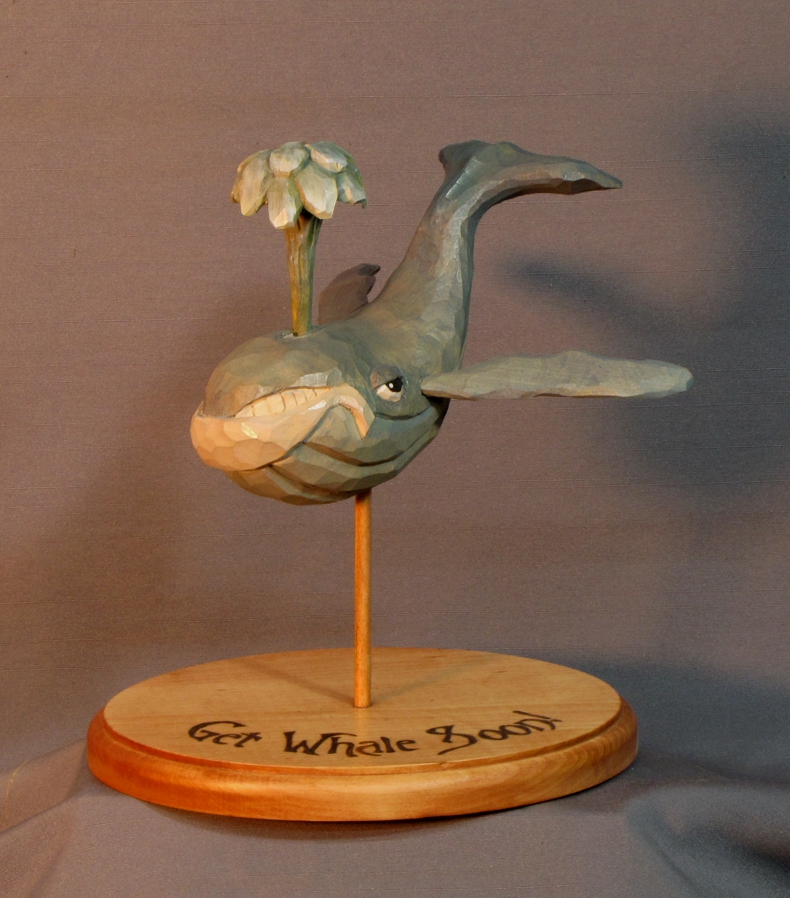
Step 24: …and a view goin’ away.

Step 25: My secret for laying out lettering? Corel Graphics Suite X5 student & home edition. Corel Draw lets you fit text to a curve. Oh, and I’m a font junkie. This one is Nachmere (Nightmare).

Step 26: Graphite paper, painter’s tape, and an embossing pen (which I use for painting as well… but not embossing… go figure <G>).

Step 27: My pyrography kit is a Frankenstein monster… Detail Master base control, an adapter, and Optima pens with interchangeable tips. This was a deer foot shader. I’m not an expert, and it might have been easier to outline them with a dagger point and fill with the shader. Next time.

Step 28: TaDa! (How’s that for an informative step?)

Step 29: This is towards the end of the painting. When I started, I thoroughly soaked the pieces with water using a spray bottle and then used very watered down washes of color. If you look close you can make out the grain. That’s just the way I roll when painting my carvings, if you have a preferred method of your own use it.
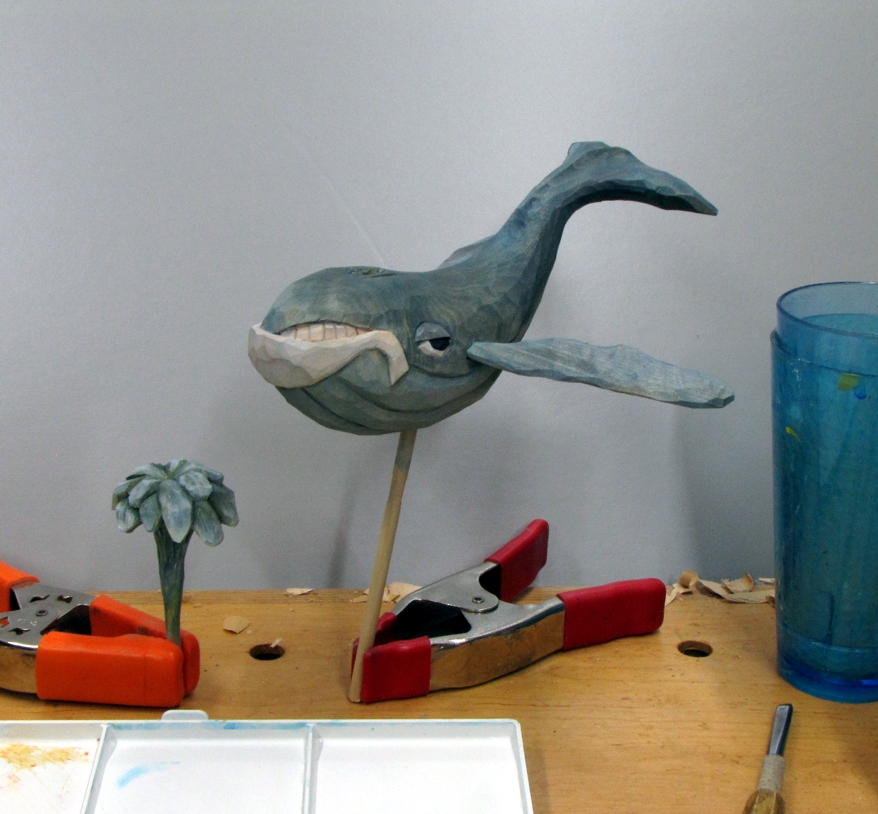
Step 30: A couple coats of acrylic clear satin… just enough to get rid of the chalkiness of the acrylics and leave the piece with a nice, soft sheen.
Step 31: An a close up. Remember when I said I used the embossing tool for painting? Check out the small dot of off-white highlighting the pupil.

I hope you enjoyed the project, and understand when I say that I hope you don’t have to carve too many of these. If you do carve several, try a different whale with a different shape next time like a sperm whale, or if the patient is a unicorn lover, a narwhale.
Whale Gang… keep them edges keen, the chips piled high, and remember, puns are fun! ;-).

