
 Technique
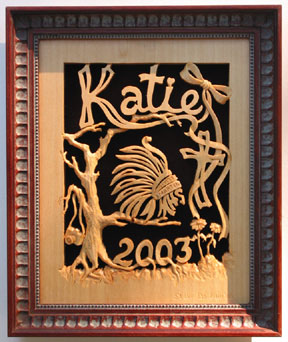
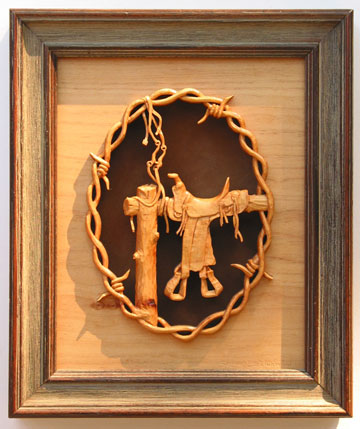
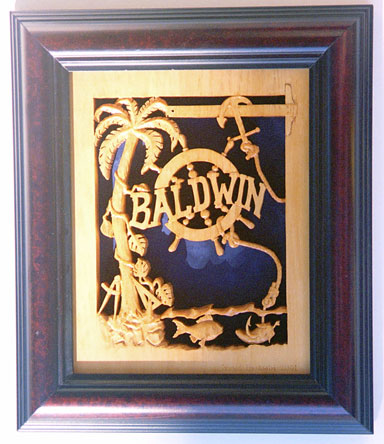
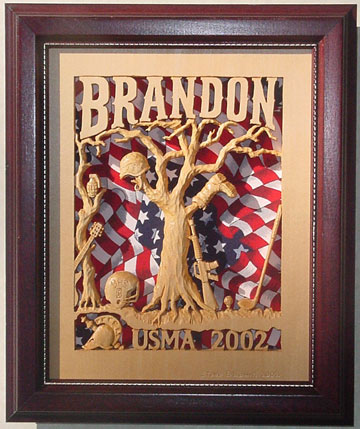
The woodworking style I have evolved for myself as a hobby and part-time business includes about one part scroll sawing and 2-3 parts carving. The technique is not intarsia but more like relief carving or pierced carving. I begin with patterns of my own design containing objects representing hobbies, professions, families and favorite places or things. The objects are overlapped or touching and also connected by trees/limbs, vines, ribbon, rope, barbed wire or architectural structures. I use the scroll saw to remove background or open spaces. Then I use gouges and knives to carve depth and detail in the remaining patterned wood surface which is still a continuous wood piece without glue joints. I apply coats of oil or polyurethane finish, have the piece professionally framed, and it is ready to hang proudly on somebody's wall.
Materials & Equipment
Bass wood is my most commonly used wood because
it is easy to work, reasonably availability and inexpensive. For
special or higher-priced pieces, I select harder woods with a
lot of grain and character such as mesquite, soft maple, walnut,
cherry and some exotics. I plane the hardwood stock to 1/2"
to 5/8" thickness, finish sand and cut to blanks such as
8"X10" or 9"X12" to fit standard-size frames.
My scroll saw is an Excalibur and the blades I use for the basswood
are typically #3 and #5 in various tooth configurations. For carving,
I most commonly use three to five small gouges from #3-4mm to
#6-8 mm. I also use thin bladed, fine pointed carving knives.
Gouges and knives are razor sharp to make clean cuts with minimum
effort. I select frames to compliment the theme of the design,
and the color of the finished wood. I usually attach a background
of suede board of an appropriate color.
Background
I am an electrical engineer by profession and
have worked in a variety of industries from defense to pharmaceuticals.
My woodworking experience began more than 20 years ago with interest
in the scroll saw for creating original ornaments and signs. I
became unsatisfied with the flat, two-dimensional look of scroll
sawed silhouettes and took up carving in-the-round with gouges
and knives. I eventually combined the generally, mutually exclusive
crafts of relief carving and scroll saw work. Over the years my
experience with this technique has matured and improved to produce
decorative wall plaques that are very unique, always challenging
and rewarding.
The Process - Step By Step
Wood blank Preparation Select basswood board with about 5/8" thickness. Surface plane or belt sand, then finish sand with 100 then 200 grit. Cut to 8" by 10".
Pattern Attachment photocopy the pattern and transfer to the wood surface with spray adhesive such as 3M Super 77.
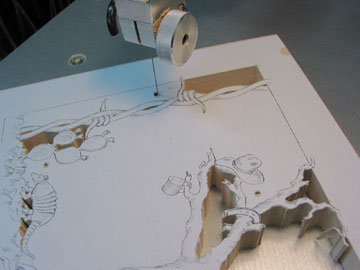
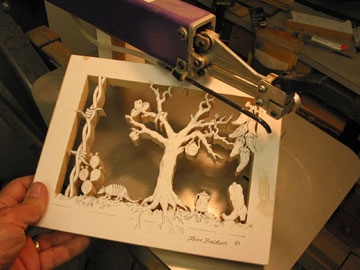
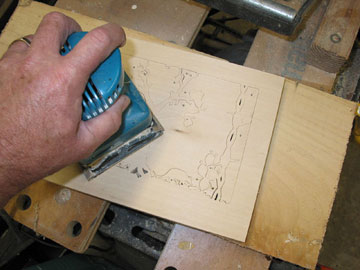

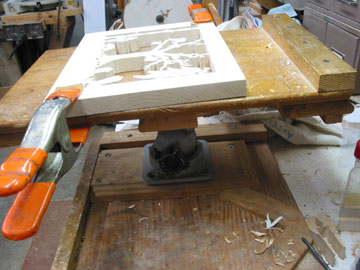

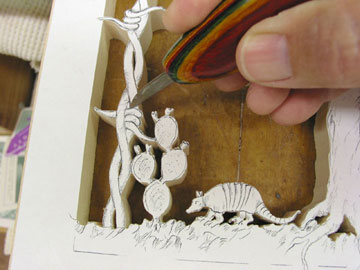

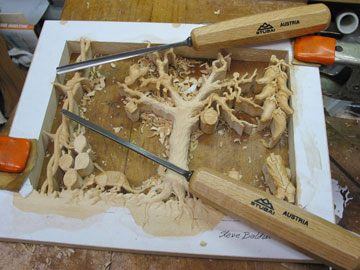
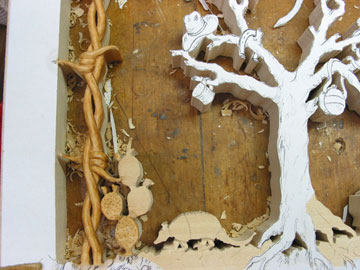
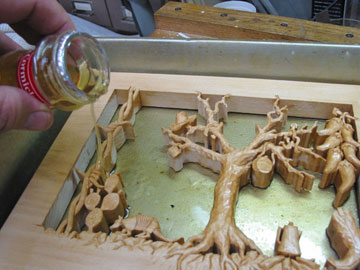
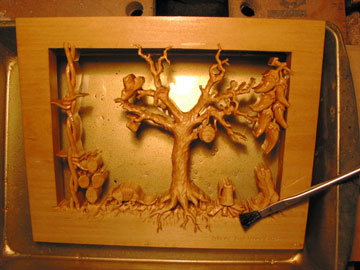

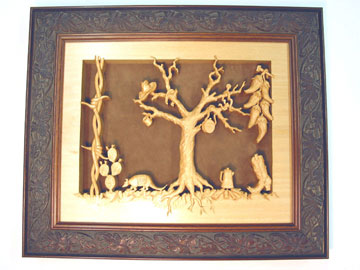
Professional farming and mounting gives the piece a high-quality, finished look. Select a frame molding to complement the color and style of the carved wood piece. Suede board matting behind the piece provides strength to the sometimes delicate carved sections. Other backgrounds that work well include leather, mirror and fabric or the piece can be left open on the back side.
