 Gene Webb’s Indian Mask
Please refer to and follow all manufacturers’ directions.
I spent six glorious days with Woodcarving Illustrated’s 2014 Woodcarver of the Year, Rick Jensen. He taught two back-to-back, three-day bark carving seminars. Rick’s projects included carving a bark house with a spiral staircase, and a Santa with jingle bells on a leather belt.
Rick held his seminars at Gene Webb’s School of Woodcarving located in the Smoky Mountains in Townsend, Tennessee. Rick plans to return to Gene’s studio April 1 thru 6, 2016. As in 2015, both power and edged tools will be used. The 2016 seminar has a maximum of 10 students. 9 carvers have already given Rick a $100 deposit to hold their space. If you are interested, call Rick at 218–281-5107 for the project’s details.

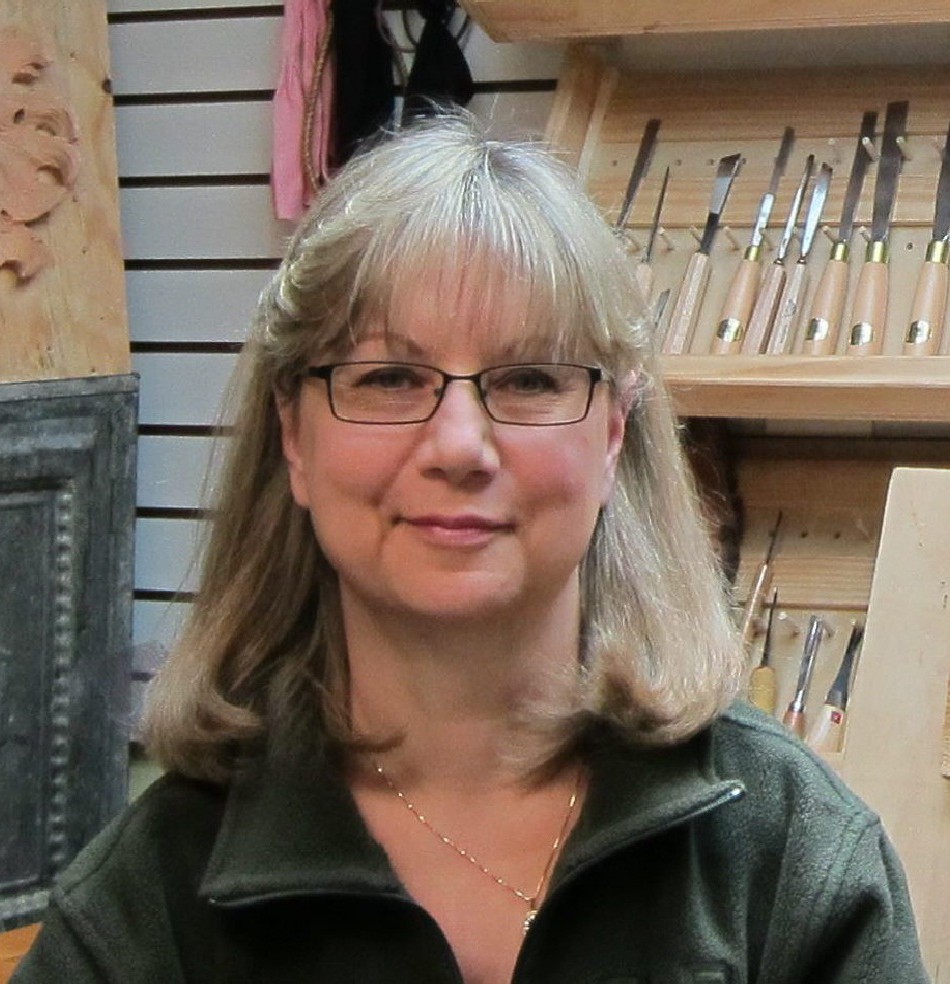
Rick Jensen, Susan Alexander, Gene Webb in Townsend, TN
As luck would have it (mine, not his), Gene Webb’s permanent carving station was located next to mine, which allowed me to observe him power carve an American Indian mask. I’m certain I must have annoyed Gene with a series of questions about power carving. However, Gene, who has carved for over 40 years, won numerous Blue Ribbon, Best of Show and People’s Choice Awards, was a true Tennessee artist, instructor and gentleman. He kindly answered each of my questions with grace and patience.

Mask Front-Gene Webb
Gene carved his mask in spalded maple wood using an NSK and Foredom. He took the time to explain which bits he chose to use, and the thought process behind his choices. I was fascinated because I seldom have had any luck with power carving.
Gene carved the front of the mask before hollowing out the back, leaving some delicate portions only ¼” thick – so thin you could see light if you held it up to a lamp.
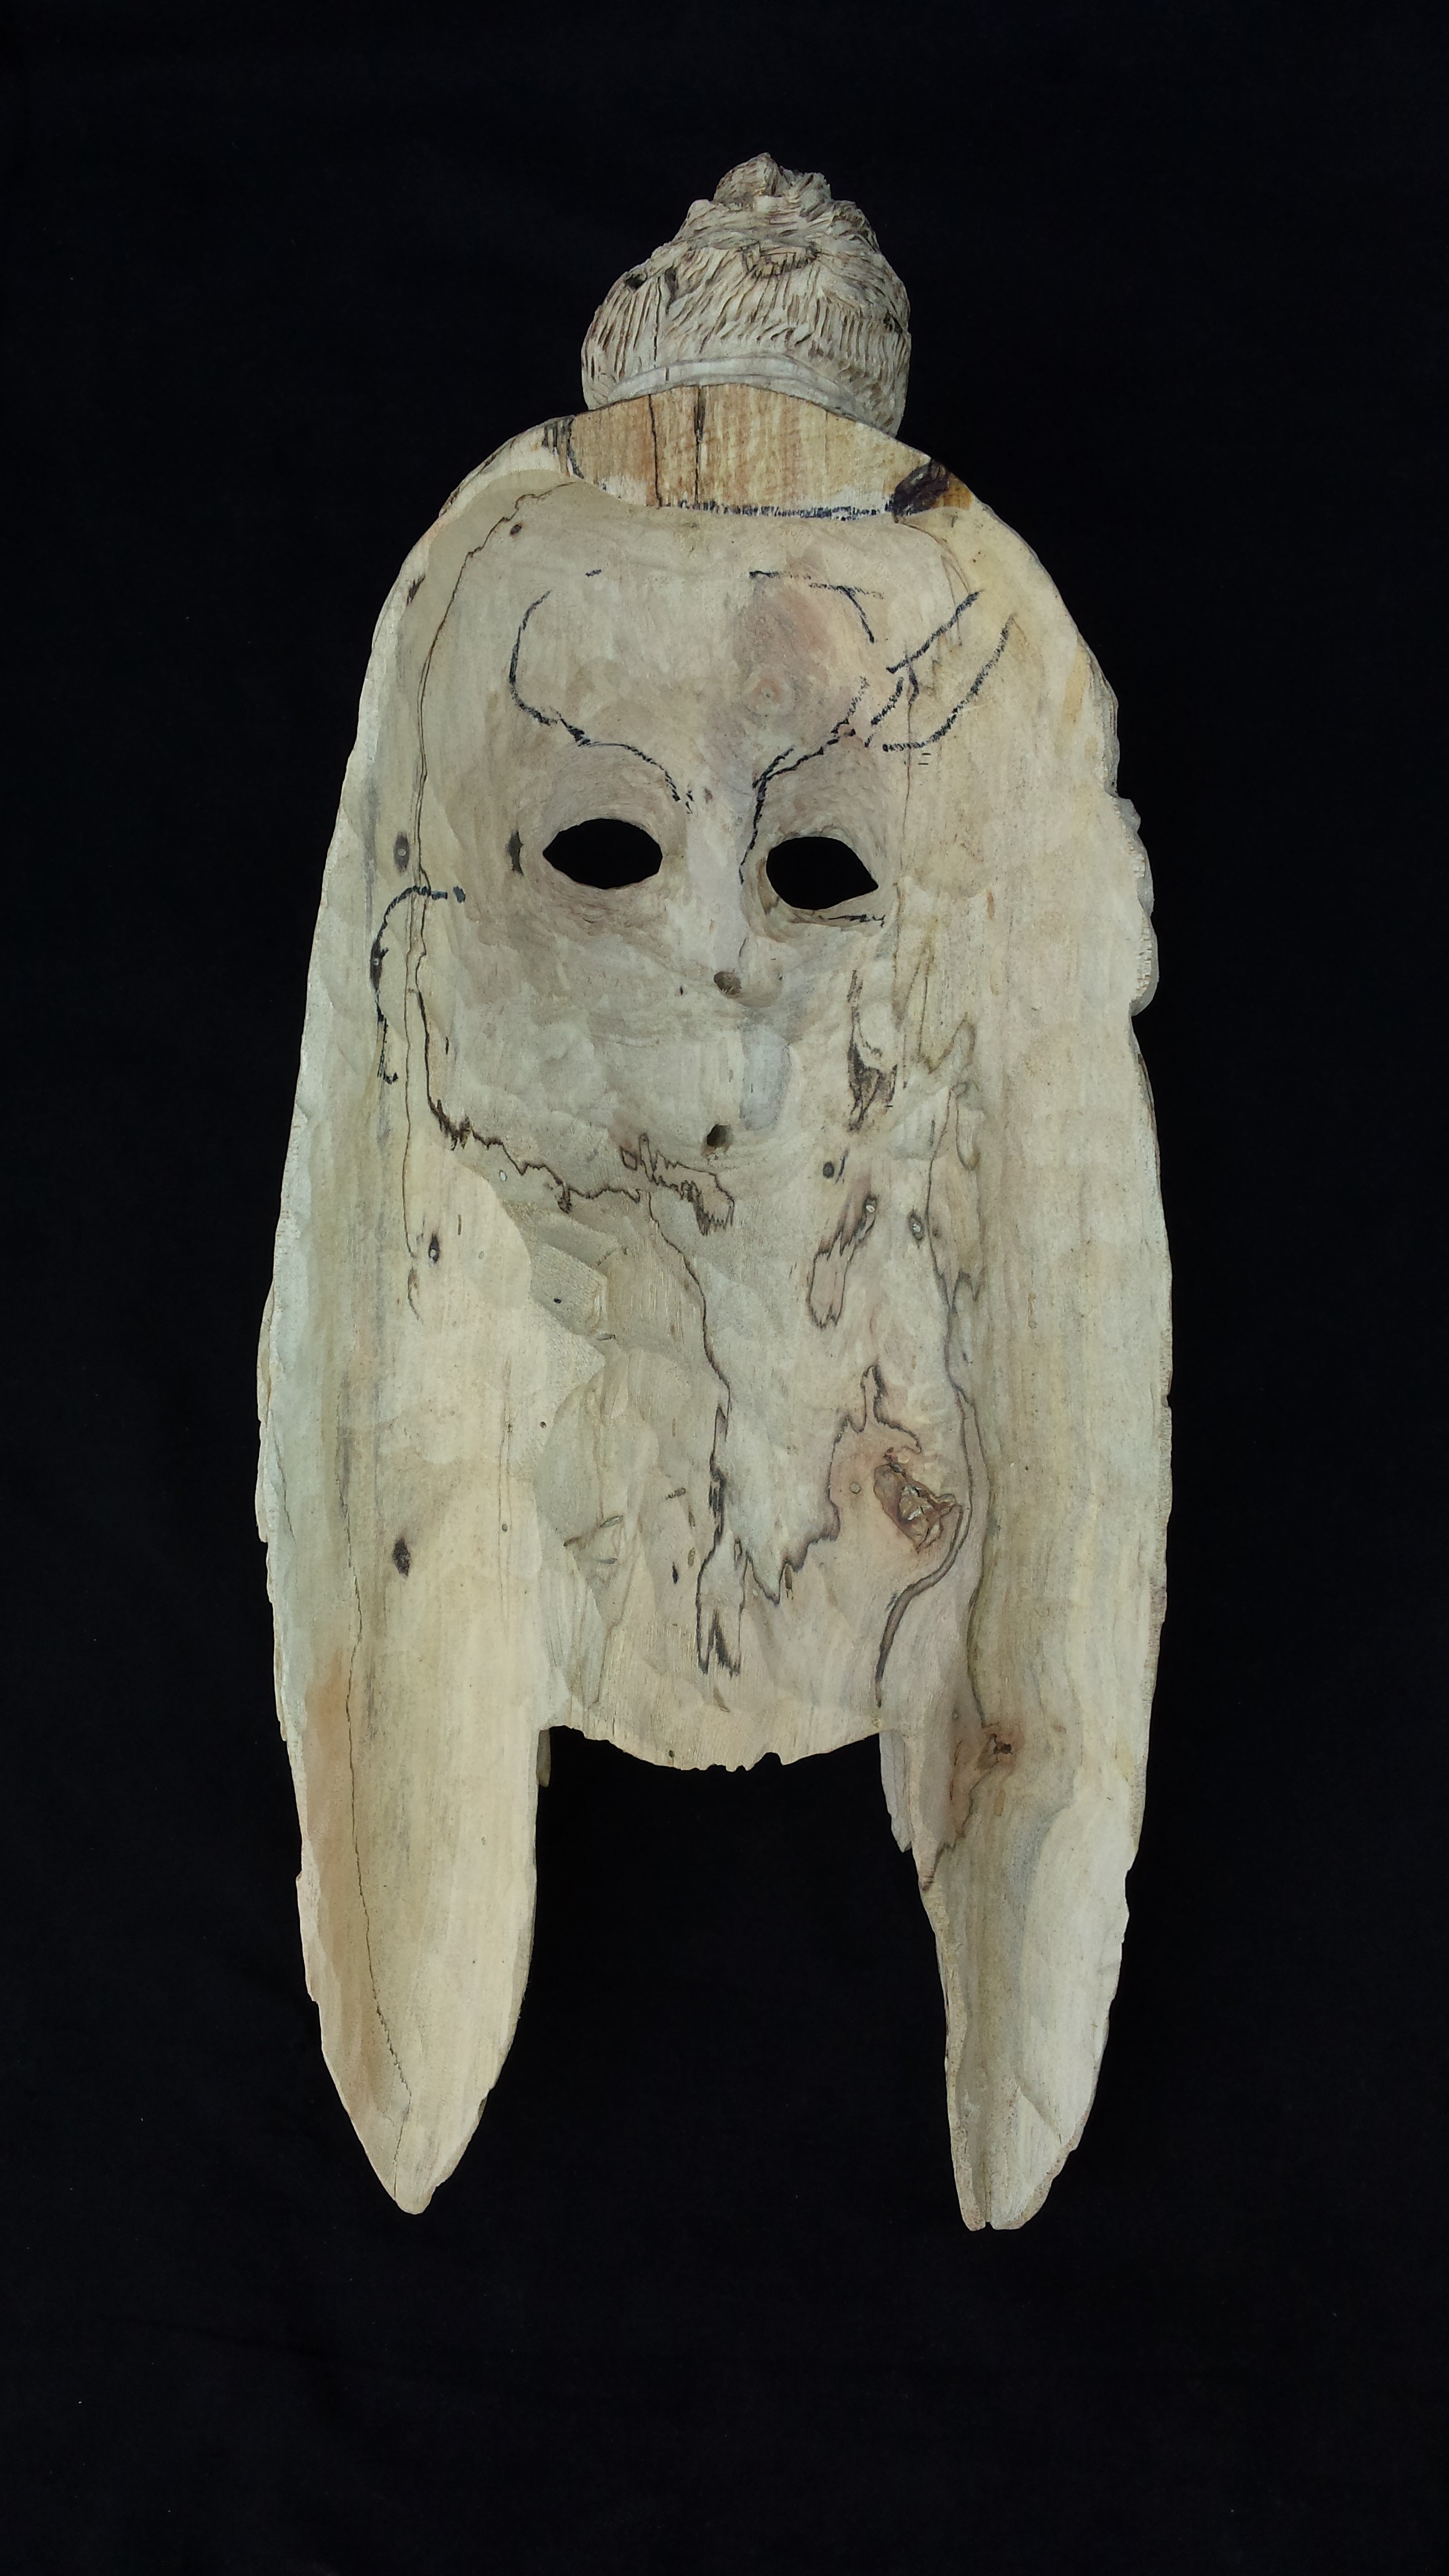
Mask Back — Gene Webb
After Gene hollowed the back of the mask and carved in a hanger, he buffed the entire carving, front and back, with different fabric-backed grits of sandpaper he mounted on a mandrel and loaded onto a Foredom. Gene then took a wood burner to the mask. I asked him to take a photo for us when it was ½ burned, so you could see the remarkable difference burning made to the carving.

After wood burning, Gene applied a finish, which darkened the wood dramatically.
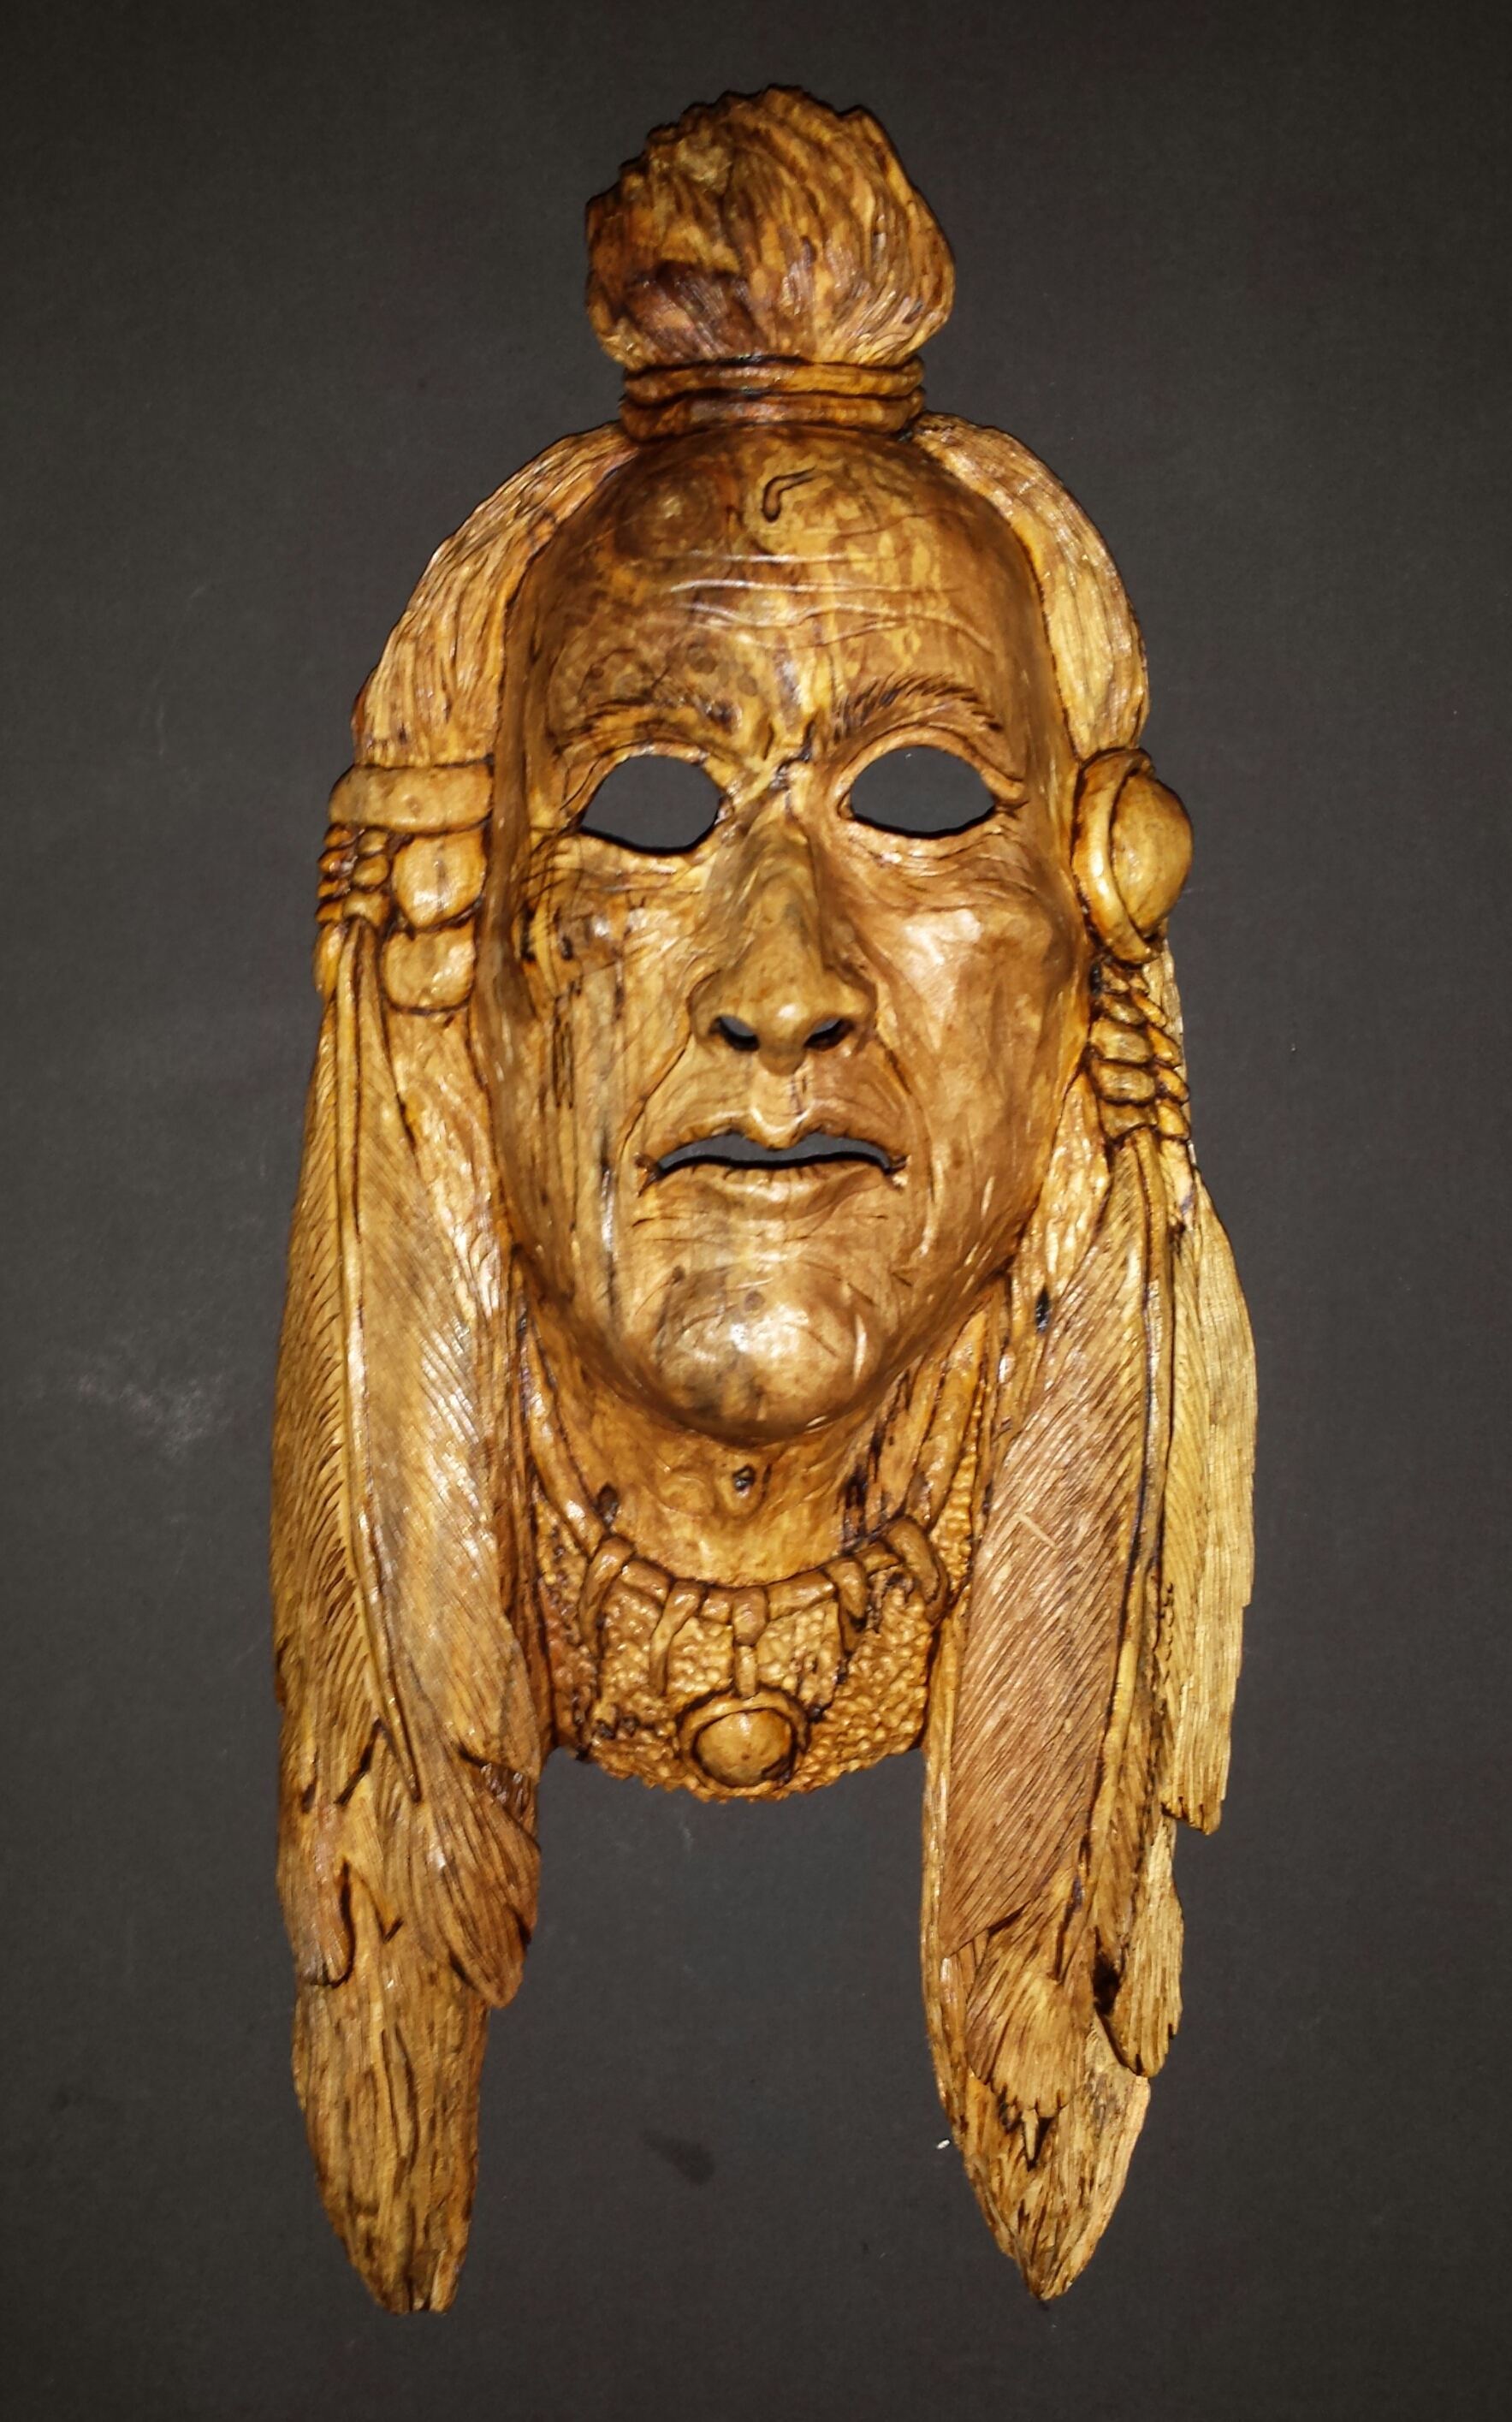
The final carving was 15” tall by 6” wide.
I was so enthralled with the entire process that I purchased Gene’s DVD, Power Carving an Indian Mask, watched it that evening in my room (after carving for 9 hours with Rick), and the next day went back and purchased Gene’s Power Carving a Tree Spirit DVD. Gene has 19 DVD’s at $22.95 each. Even though I probably will never carve a mask, I’ll refer to Gene’s DVD when I attempt to power carving an Indian face.
There are numerous things I like about Gene Webb’s DVDs. While they are professionally produced, they don’t feel staged. Like many things that are done correctly – you don’t notice that the sound, camera angles and lighting were well thought out. Gene has an easy way of explaining the art of carving. His friendly manner and explanations of bits, carving tools and carving methods belies his numerous awards and 40 years of carving experience. When I watch Gene’s DVDs, I feel like I’m getting great advice from a carving friend and neighbor.
I told Gene I wanted to tell you, the WOM reader, how much I enjoyed his DVDs and he said that should any of you decide to purchase one of them, if you mention my name, you can email him a photo of your carving and he’ll critique it at no charge. I know I’ll be taking advantage of that offer.
When you have a moment, check out Gene Webb’s website at www.GeneWebbCarvings.com. You’ll find a lot of interesting carving items on Gene’s site, including bits, books and tools. If you are ever in the area, or would like to take a trip to the Smoky Mountains, Gene offers individualized carving instructions for $150/day or $200/2‑day class. Depending upon the subject matter, he also offers week-long classes. While Gene is flexible, depending upon his schedule, power carving, edged tool classes (or a mixture of both) are usually held the first week of the month.
My trip to Townsend, Tennessee has reaped WOM readers an additional benefit. Gene has agreed that if a WOM reader has a carving question, you may call him at 865–660-1110. Mention my name, and Gene will get back to you as soon as he is free. Carvers helping carvers!
Following my seminars with Rick Jensen, I adventurously signed up for Gene’s 2‑day private chain saw class. I hope to rough out two projects — one per day — an American Indian and a wood spirit — both from a slab of cedar log. I don’t know whether you should send your good luck wishes to me or Gene. I’ve never picked up a chain saw before. Best send them to Gene.
Here are a few photos of past masks Gene has carved. Visit his website to see more of his carvings.

Cedar Mask ‑Gene Webb
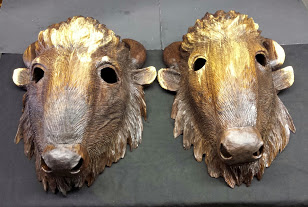
Bison Masks ‑Gene Webb

Indian Masks ‑Gene Webb
***
E‑MAILS
Subject: Praying Hands – In-The-Round Carving
I received an email from John Mitchell. He’d like to carve an in-the-round carving of praying hands, and is asking if anyone can provide him with plans. If we couldn’t provide him with plans, John said he saw an article in a magazine that gave full instructions for carving praying hands, but can’t recall the issue or name of the magazine. Can any reader point John in the right direction? Use the form below to email me, or send the information to SusanAlexanderCarves@comcast.net and I’ll forward it to John as well as print it in my next Let’s Talk Carving column.
***
Subject: A Different Perspective
Last month, Shorty Short’s (from Shorty’s Wood Shop) sent us a TIP that suggested when we look at a carving we turn off the lights from time to time and have one small light off to the side when examining our carving, I received an email from Joe Butler reminding us that looking at our carving in a mirror will give us an entirely new perspective that will allow us to see what parts of our carving are out of synch. Thanks, Joe. It was good hearing from you.
Let me add that when you view your carving in the mirror, have a pencil with you. While looking in the mirror, put your finger on the spot that needs adjusting. When you turn the carving back to face you, mark that spot with your pencil. That way, even if you put your carving down for a day or two, you’ll know exactly what needs to be adjusted once you begin carving again.
***
Subject: Window Fans and Furnace Filters
Last month, I shared Jan Oegema’s email with you regarding attaching furnace filters to a box fan. First of all, my sincere apologies to Jan because I spelled his last name incorrectly. While I kept a few of his vowels and consonants, Jan’s last name is definitely not Omega. It must have been a Freudian slip because I have recently begun to study the Greek language, which, of course, includes the letter Omega. Sorry about that, Jan.
Not only did Jan accept my apologies, being a great carver, he sent me a few more photographs and TIPS to share with you. In this photo you’ll recognize the filtered box fan that Jan referred to last month. It is interesting to see how Jan secured it to the ceiling.

Jan’s Filtered Box Fan Ceiling Height
I’ll let Jan tell you, in his own words, about the second batch of photos he sent us. When I first received them, I thought the photo below was of a small vacuum sweeper so I emailed Jan for an explanation.

Jan’s Floor Polisher
Here is Jan’s response.
The pictures show a floor polisher NOT a vacuum. I converted the floor polisher into a sharpener.
I take the whole polisher apart and build a case around the motor. Then I take the brushes out of the round holders and screw a piece of wood on there (as seen in the pictures). Glue a piece of leather on the wood (suede side up). From the handle I use the switch and the cord and use a used Kitchen drawer handle so I can take it with me on tour. Often I make a second round set with 200 grit sandpaper.

Parts of Floor Polisher

Jan’s Reinvented Tool Sharpener

Jan’s Reinvented Tool Sharpener
I wish I was handier, but it was certainly interesting seeing what Jan can do with a floor polisher!
My Warning to WOM Readers: Only if you are very familiar and schooled and confident in your mechanical and electrical abilities and the type of equipment Jan has taken apart and put back together, should you even consider attempting what Jan has accomplished. You know who you are. I know I couldn’t morph a floor polisher into a sharpener without injuring myself or setting fire to my studio.
***
Until next time, gentle reader, may your wood be plentiful and your tools stay sharp. Take care, carve lots, and always remember to smile.
Peace,
Susan.
![]()
Recent Comments