 How To Make A Koozie Sander
When Gene Webb told me he made a large sander out of his koozie, I had to ask him for directions so I could share the information with all of you and because while I don’t own a large sander, I do own a Gene Webb koozie. Here are Gene’s instructions on how to make your own koozie sander.
(Editor’s Note: Always wear proper safety equipment when using any power tool. Undertake and use this project at your own risk.)
I wore my logo off my koozie, so I decided to try and make a big sander that I could use in my drill. It works great and wasn’t too hard to make.
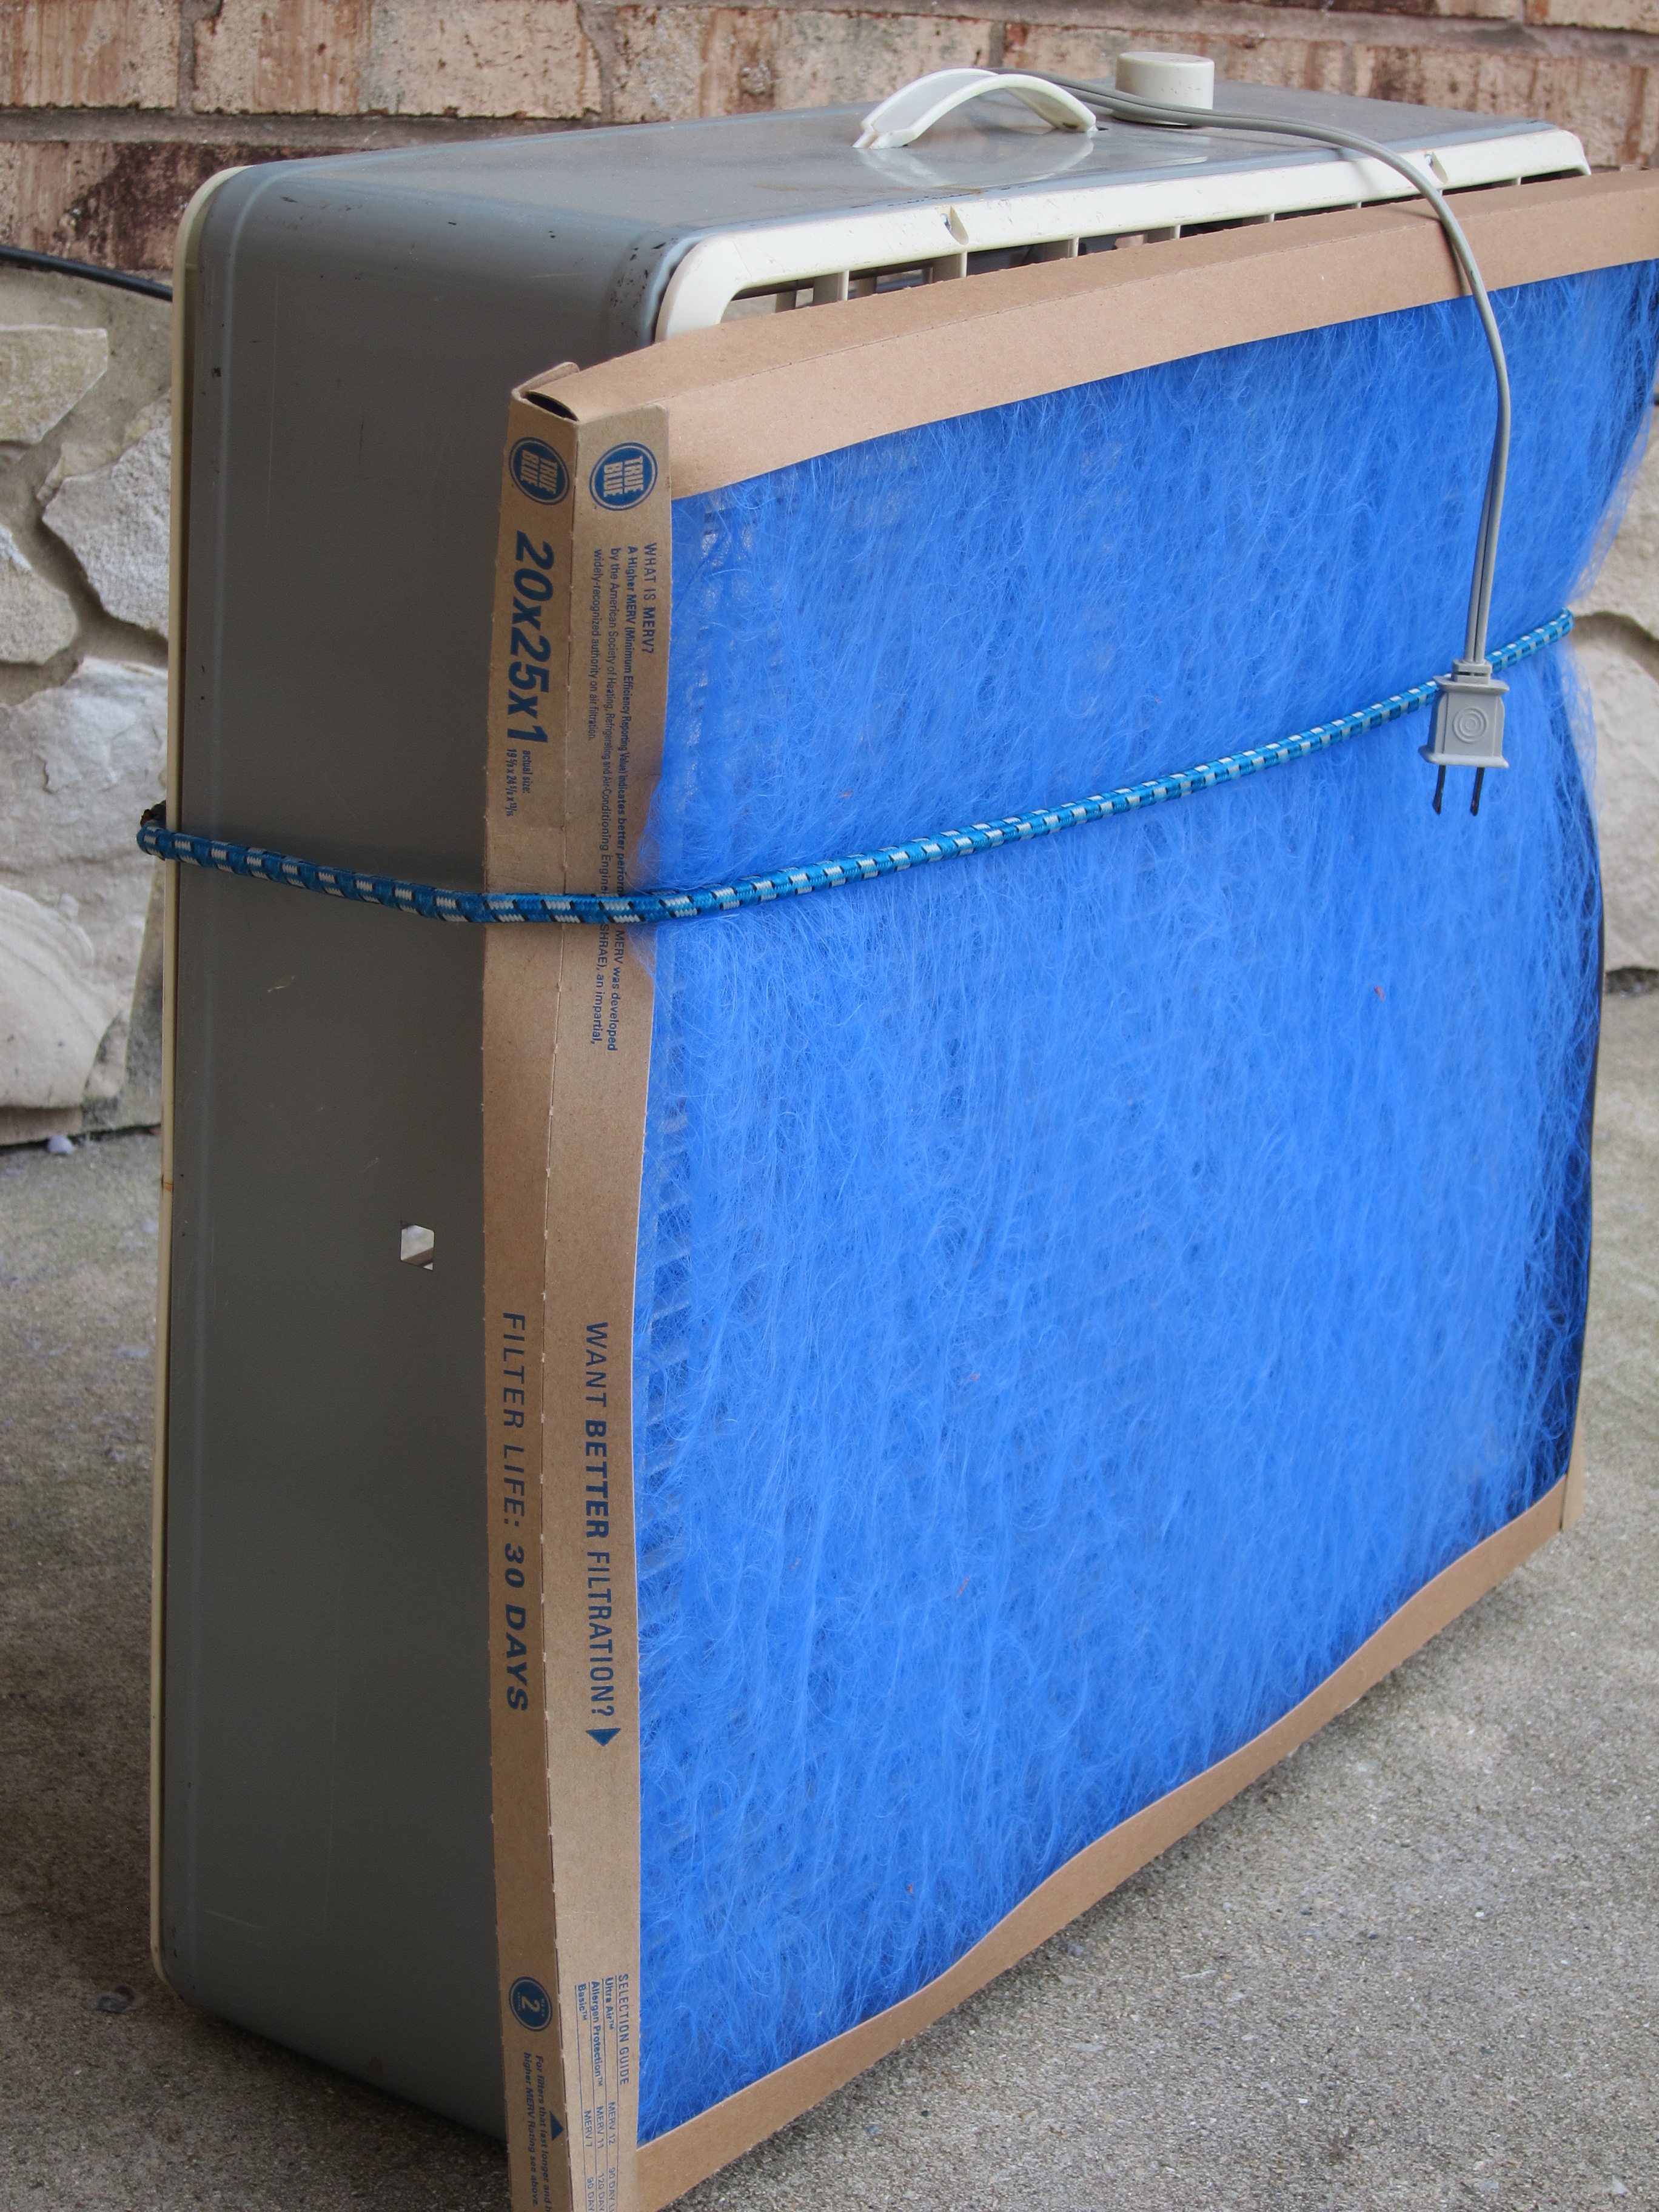
My koozies have a plastic cup built inside it (not all koozies have that). The plastic cup makes it durable and is why I chose this type of koozie for my woodcarving school and business. Now, I can use it as 3” by 4” sander that works pretty well in a drill. You have to run the drill slowly, with it being that big.

All I did was cut out 2 end caps about 1/4 smaller in diameter than the koozie cup. I needed the end caps because when I tightened the all-thread bolt without them, it squeezed the koozie flat. The end caps help to hold the belt on, and to keep the cup’s shape.
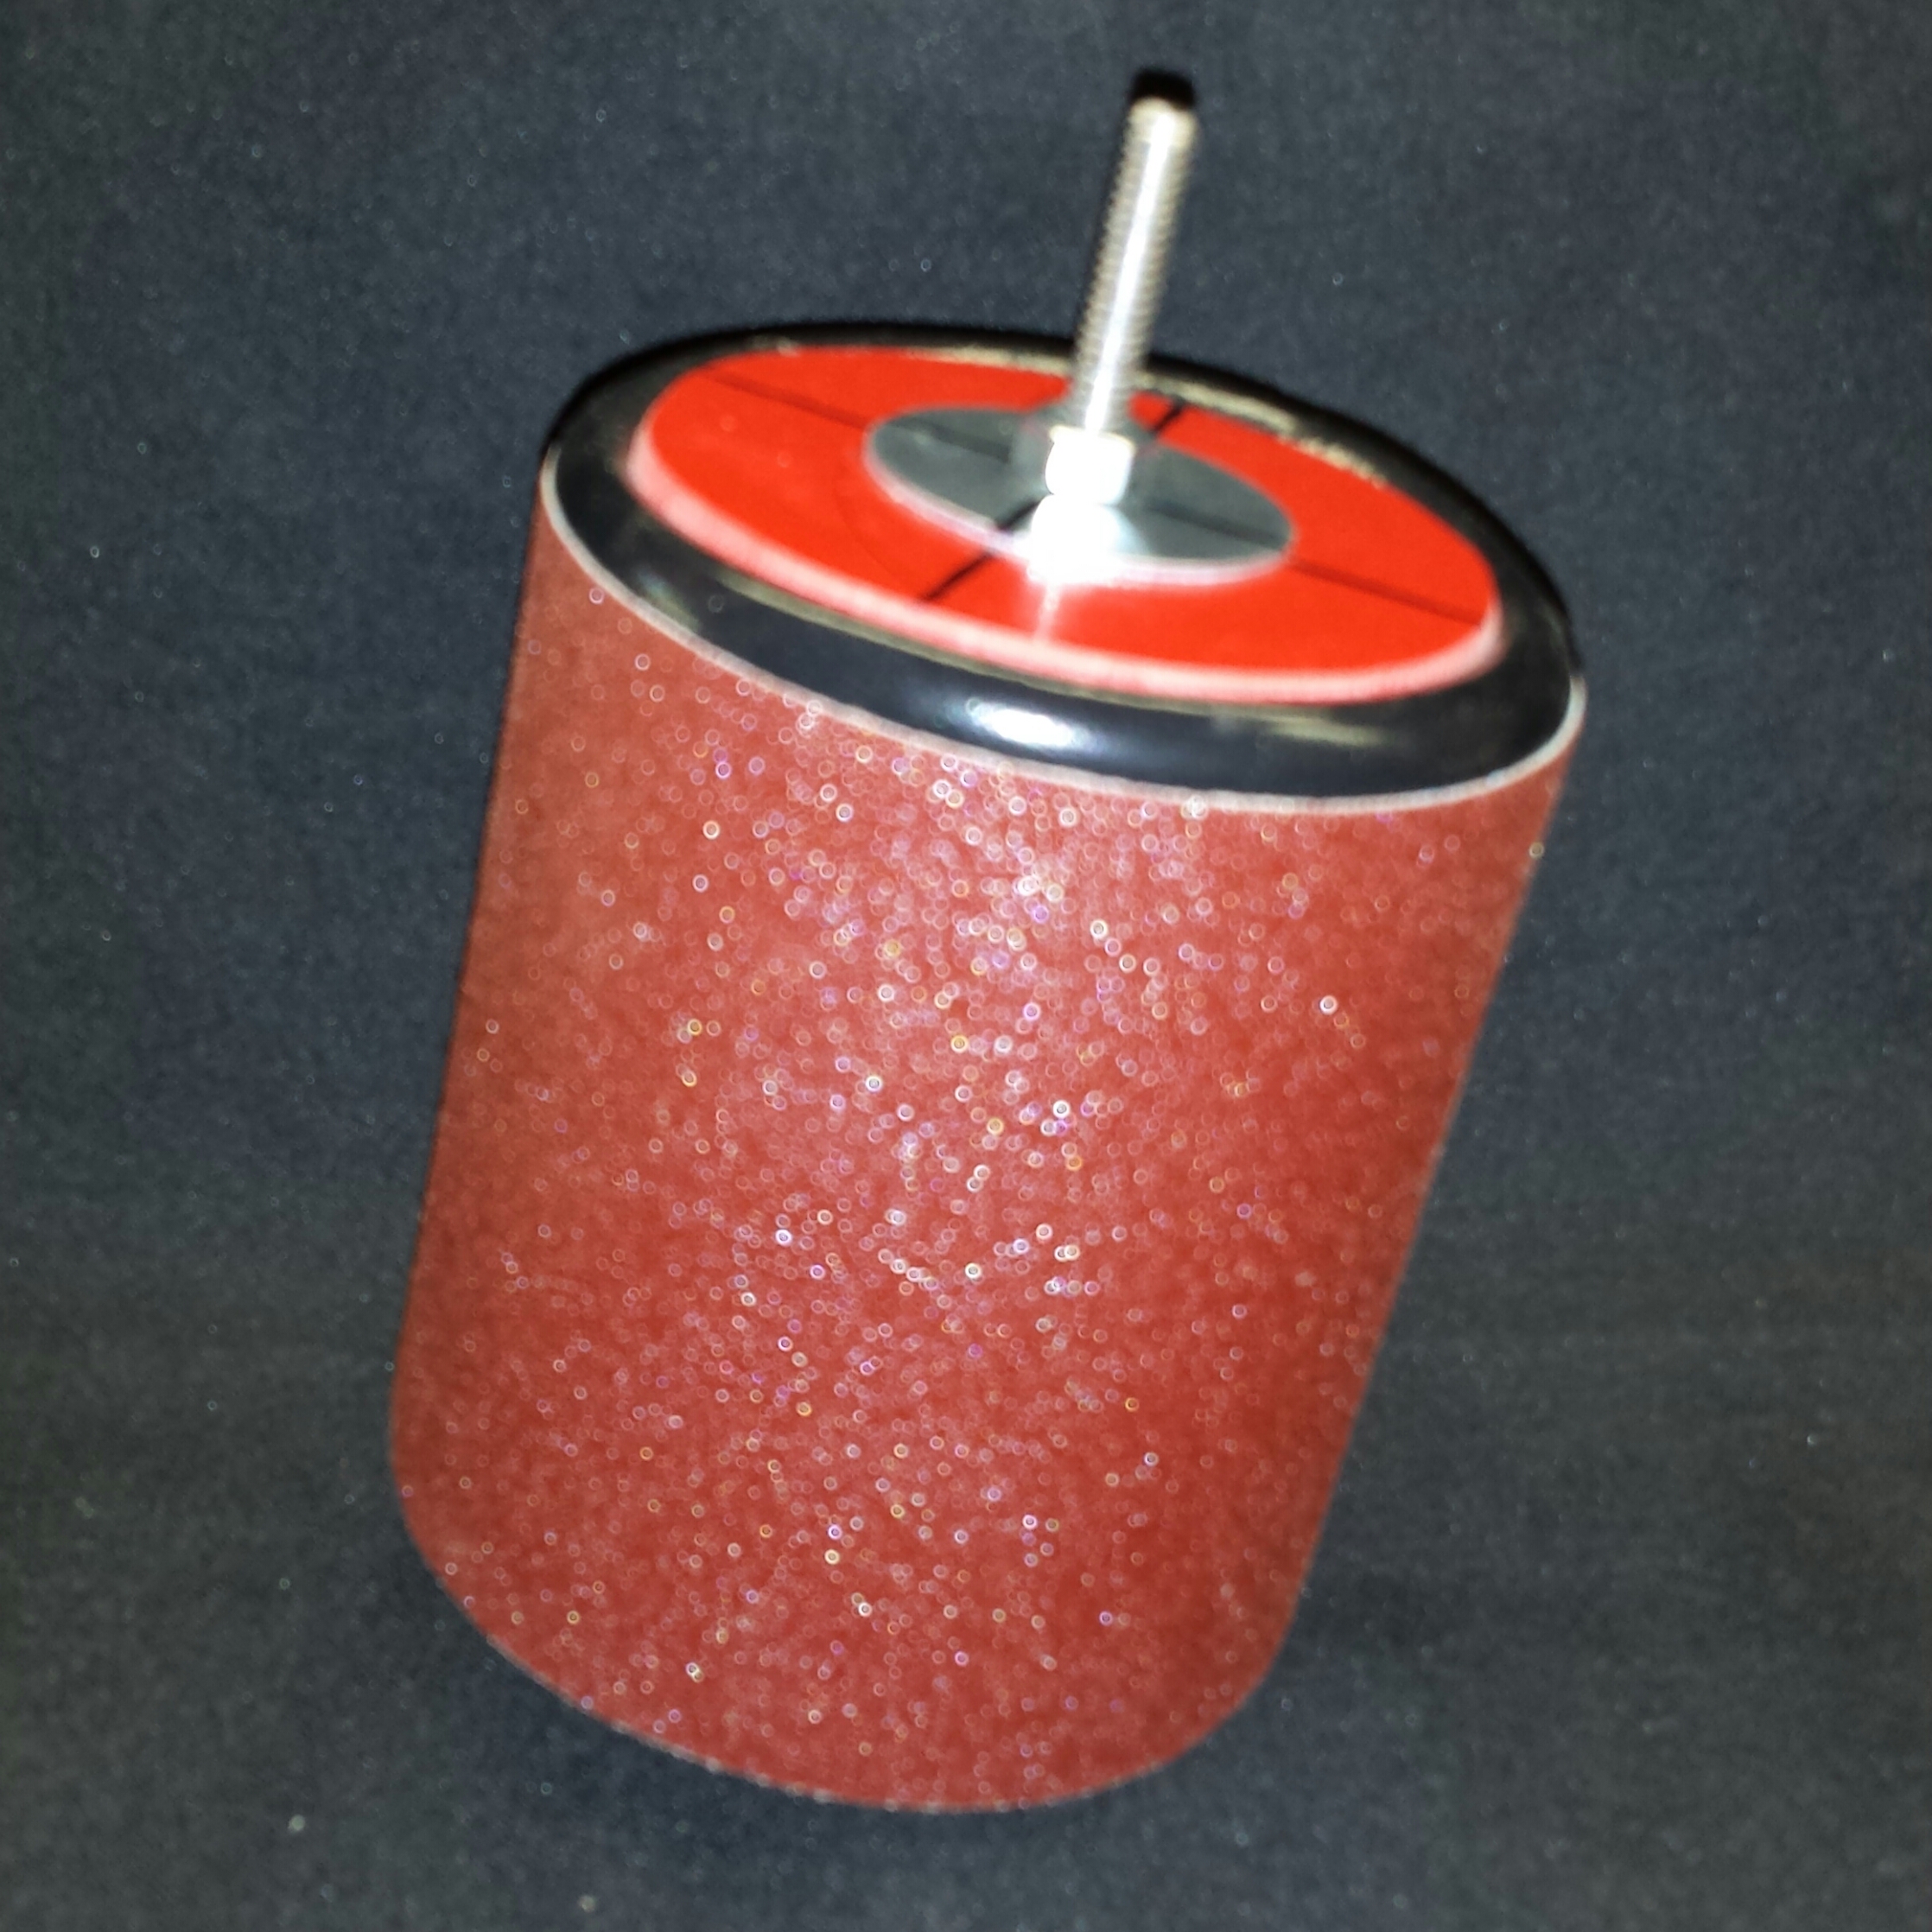
The belt took a while to figure out. Finally, I used Gorilla tape on the back. Where the sand paper meets, the pressure slightly expands a small gap, but the Gorilla tape is still holding strong.

To make a koozie sander, you’ll need:
- A cool Gene Webb koozie with a built-in plastic cup
- 80 grit Swiss sand paper
- Plexiglas for 2 small 1/4″ thick end caps
- Gorilla tape
- One 3/8″ all thread bolt with 2 washers and 2 nuts.
They can throw in their own cussing as they go.
This koozie sander works great on sanding off the burs. You could use the sander in the drill, or strap the drill down and just hold the wood to it. Whatever works best for you.

Remember – you will have to run the drill slowly, with it being that big, and because we don’t know how long the Gorilla Tape will hold, always work slowly, carefully, wear eye protection, and check your koozie sander before and after each use.
If anyone has any questions about the instructions or the sander, they shouldn’t hesitate to call me at: 865–660-1110.
Thanks, Gene, for taking the time to send us the instructions and the pictures, and for sponsoring the Carvers Companion.
Like I always say, Carvers helping Carvers!
***
E‑MAIL
Subject: Question on Painting, then Sealing a Carving
I received an email from Rick Houlden regarding an issue he is experiencing when painting his carvings, and then using a sealant.
I dip my carvings and sometimes I can see some color coming off onto the paper towel when removing excess sealant. Since I work out of my garage that is attached to our home I have never been interested in using (can’t think of the name) the finish that is known to be flammable on the used rags. I found my current system in a carving magazine, the carver noted that this system doesn’t leave flammable rags around and also is more cost effective. But it can have issues when applying the sealant over acrylic paints when removing excess sealant from the carving.
I asked Rick what sealant he was using. Here is his reply:
I used the Minwax Polycrylic in the clear satin finish it is a water based sealant. I like many carvers layer my paints either by blending the colors or as with the eyes paint a black dot then inside the black I paint the brown or blue in a smaller diameter then add a small white dot as the reflective highlight. I have usually after dipping give the carving a minute or two to drip off the excess but at times need to take a towel or paper cloth to remove access sealant. If not careful with the way I handle the carving at this point I can have small spots of color pull off. It doesn’t happen all the time and I am slowly perfecting the way I do this but it made me wonder what is if any the complete curing time of the acrylic paints. Most seem to believe that is when it is dry to the touch but since in the past I have had some color come off this gives me the impression that the layered area may not have been completely cured at the time of dipping.
I have begun to put a sealant coating on the carvings before I begin to paint but I know this is not the issue since I have had the color showing on the cloth even before I began this process.
I know some carvers say to dip the carving and then once the majority has drained place the carving bottom down on a paper towel to allow more run off of the excess. But I many times let the color continue to the backside stopping at the point where the hollowing of the carving begins.
If you have a suggestion for Rick, send it to SusanAlexanderCarves@comcast.net, or fill in the info below, with your comments, and it will get to me. I will forward your emails to Rick as I receive them (so he doesn’t have to wait a month), and will also share them in my next Let’s Talk Carving column.
***
Until next month, gentle reader, may your wood be plentiful and your tools stay sharp. Take care, carve lots, and always remember to smile.
Peace,
Susan.
![]()


Recent Comments