Selling Finished Work
By Lora S. Irish
I had a question posted to me on one of my message boards. The person was asking how to sell their finished works (pyrography) and whether to pursue art gallery space or craft show space. Perhaps others will add ideas to this discussion on the Woodcarver List Facebook group.
In my experience arts and crafts shows often do way better for carvers and burners than art galleries when you are looking for sales for your work.
Art galleries have limited space for work in their brick and mortar store fronts, there is only so much room especially for 3‑D display. This means that as a carver/pyrographers your chances of getting space are extremely limited and if you do win space the number of items they can show for you is limited.
A gallery will charge up to 50% of the sale price of your work as their commission. If they offer you a One Man show or Solo Show the costs of the advertising and entertainment for the affair can also be charged against your sales.
Galleries work extremely well for flat work as paintings, etching or prints. Prints usually have the preference as they can be racked and are inexpensively priced for customer from between $50 to $250. Plus print sales support the framing business that most galleries have.
As an artist you can incur unexpected costs by working through a gallery setting. Often a gallery will require you to carry insurance on the full selling price of your work to protect them from paying for the natural damage, wear and tear that can happen to your work while in their custody. Also you as the artist are financially responsible for any shipping costs to and from the gallery.
High end arts and craft shows on the other hand are where an artist rents space for the affair and then set up their own small, portable shop front. Depending on the show you might be renting a space inside a large building, a certain size of grass plot or sometimes a section of tent. Check to see if you need to purchase electricity or not … if you need it. You will most likely need to furnish your store settings as tables, table cloths and chairs.
For me the biggest difference between a gallery and an arts/craft show is the atmosphere. A gallery is quiet, contemplative, one or two people at a time and ‘I’m considering buying’ place. A shows in noisy, busselly, sometimes hordes of people and ‘I have money in my pockets’ place .…
If I may be so bold as to throw out a few ideas for you to consider before your next show:
1. Create your ‘store front’ carefully and well before you go to any show.
Make it adjustable by using smaller table units (4′ sections) that can be rearranged to fit any space.
Make it match. Go ahead and invest some money into a nice looking arrangement of matching furniture pieces instead of going to the basement and grabbing some saw horses and old plywood scraps. The first looks professional and profitable implying that you have made enough sales to justify the set up. The latter looks throw together and just cheap so to the customer you obviously are not a selling artist.
Don’t use table cloths to “hide” structural units. Use cloth to give accent and color to your pieces. Cloth works wonderfully as a visual divider between items or groups of items.
I once saw a setup of shelves created with small step 5′ high step ladders. The ladders were painted bright fire engine red with black trim for the metal parts. Then white painted boards were slid through the steps to create the shelving. The craft ware could be set on the shelves, certain pieces featured on the step ladders top board or inside the A shape of the ladder steps and more piece hung from the sides of the ladders. Easy to put up, take down and extremely eye catching.
2. Some things small and inexpensive — some things medium and affordable — some things expensive and impressive — at least three things outrageously priced and just in your face attention grabbers. As a pyro show artist I would include key rings with quick and easy designs and maybe ribbons/silk flowers on the key ring that anyone could afford. Next would be my ‘bread and butter’ price range with items that both artsy and useful as your purses or as spoon holders or letter boxes. Then I would show my ‘commission’ area of work as burnings of a pet portrait group along with the original photos that I used. Finally I would show a few works that were priced just above my choking limit as a framed and matted 12″ x 24″ full color dragon burning or a full decorated man’s leather vest.
(Choking price is where I still have my fingers tightly gripped around the work but the money in your hands that you are waving under my nose smells awful good.)
3. Don’t set a table between you and your customers. Keep an open area where you are inviting them into your studio and shop area. A table becomes a visual barrier between you, them, and what you have to sell. It’s the biggest barrier for a customer to cross if they want to buy!!!!
Bring along another person so that you have one working the sale and one watching the wares, and take turns. Often my Michael is a far better sales person than I am as he can brag about his wife far better than I can. So over the years he was our primary salesman at any show.
4. Whenever possible demonstrate at the shows. Set a small table at the side of your booth; in fact creep it out into the walking path. Have several pieces on the table in different finished stages. Let your customers see how much work goes into what they are going to buy.
Tell them about yourself, how you are a ‘trained artist’ or ‘self-taught’ artist and a little something about why you chose burning. Customers love to take home a story along with their purchased item.
5. Create brightly colored matching long aprons! You can get canvas aprons at dickblick.com or jerrysartarama.com that can be hand painted. Use acrylic paints and decorate the whosits out of them. They don’t have to match for each person in the show booth but should have your name plastered boldly in the upper center section.
Why! Because you want them to remember your name. You want them to go home with something more than “I saw this wood carver who does chain saw bears”. What you want is for them to go home and tell the story that they saw this chain saw carver named “Carvin’ Calvin”. Having your shop name or the name you carve under boldly painted on your chest is instant advertising and instant recognition at the next show they go to.
Plus no show person wants to stand all day long in their own booth. Every once in a while you will want to go for a walk, stretch your legs and check out the competition. Why not advertise while you do it … :)
6. Add something smelly to your craft shop. I know this one sounds funny but smell is a major factor in catching people’s attention and in getting them to remember you! I learned this one through my favorite quilt fabric shop. The owner had bowls and bowls of potpourri everywhere in the shop. Her store smelled like apples and cinnamon. Later when I would root through my quilt fabric and come across a piece I had purchased at her shop that fabric still smelled like apples and cinnamon … guess who’s store I thought of every time I went looking through my fabric!
As a carver at a show I would hide cedar chips throughout the store area. They smell great and they have a commonly recognized wood smell. As a pyrographer I probably would use one of the musky incense smells, something masculine and strong as sandalwood or a spice smell as nutmeg.
Smell sells … it’s scientifically said to be one of the ways we decide who we will partner with as mates, so to me it’s fair game as a business owner.
7. Remember that most sales made through an arts and crafts show come after the show has closed, not during the show. So have lots of hand out, fliers and business cards ready with your name, business name, address, email, blog url, and phone number clearly printed.
I remember one of my first showings was a real flop, I think we made all of three sales that three day weekend. But the next weekend the phone rang off the hook with people would had picked up a business card at the show and wanted to set up a commission sale.
Standard Disclaimer: This is just my experience, others may have a totally different view. Please take what you want and throw the rest away.
ArtDesignsStudio.com, LSIrish.com
Designs Online Since 1997 by L.S.Irish
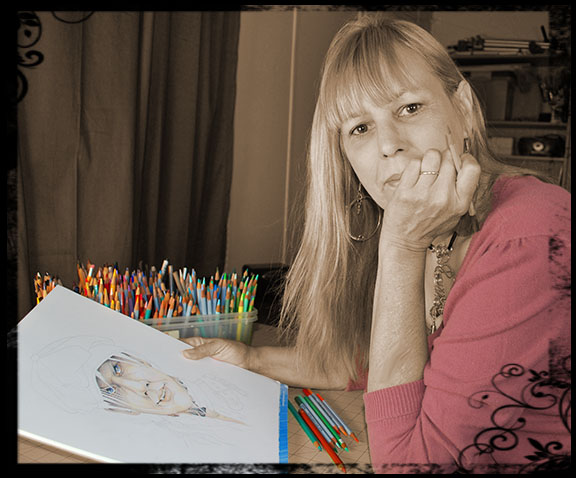 Lora S. Irish is a carver and designs projects and tutorials for carving, pyrography and related art. Her line art patterns and drawings site, artdesignsstudio.com features line art designs created exclusively by Lora for craters and artisans. Her blog, at www.lsirish.com, features many of pages of free projects and tutorials.


Recent Comments